Navigation
Twitter Feed
Tweets by @MeridixSupportCreating and Managing Events To Enable Live Streaming
Whenever you want to live stream on your channel, you simply need to ensure you have a live event running (essentially, one that is ready to accept your live stream). You can do this in one of two ways - either by scheduling an event ahead of time, or by creating a live event on the fly. When you're finished with any given event, simply mark it as finished so that we can make the recording available on-demand.
Scheduling Ahead Of Time
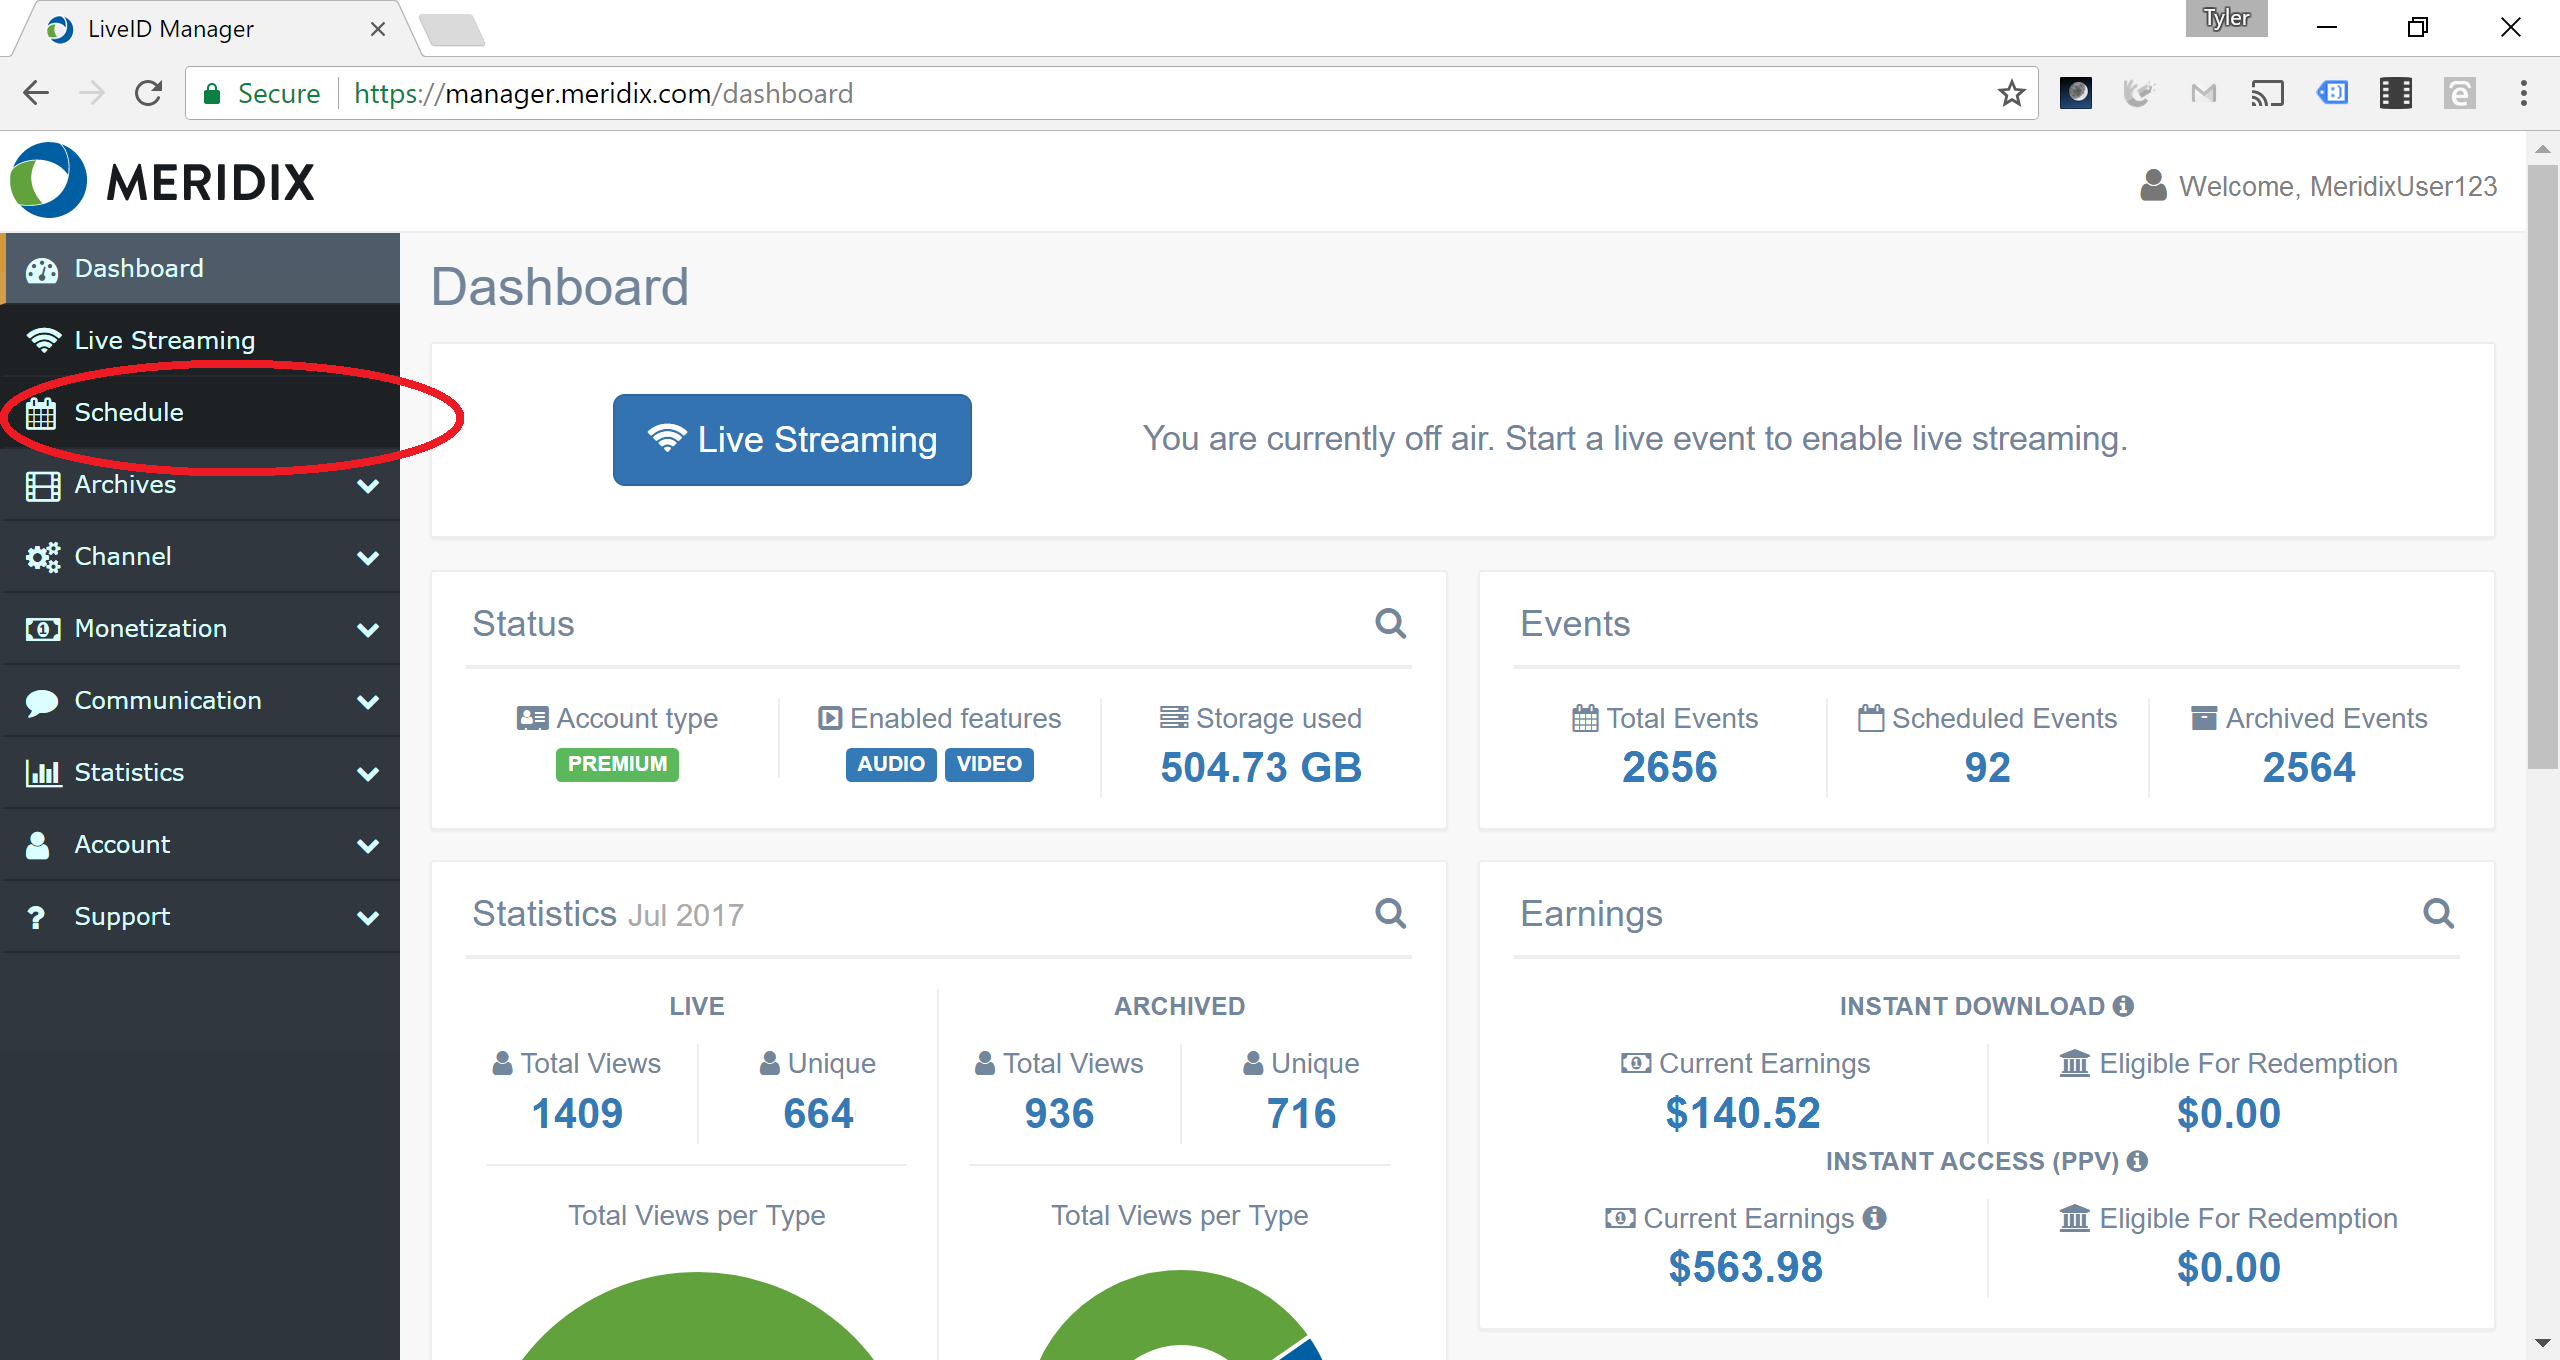
1. Login to the LiveID Manager with your LiveID and password at https://manager.meridix.com.
2. From the main menu, click on the "Schedule" option.
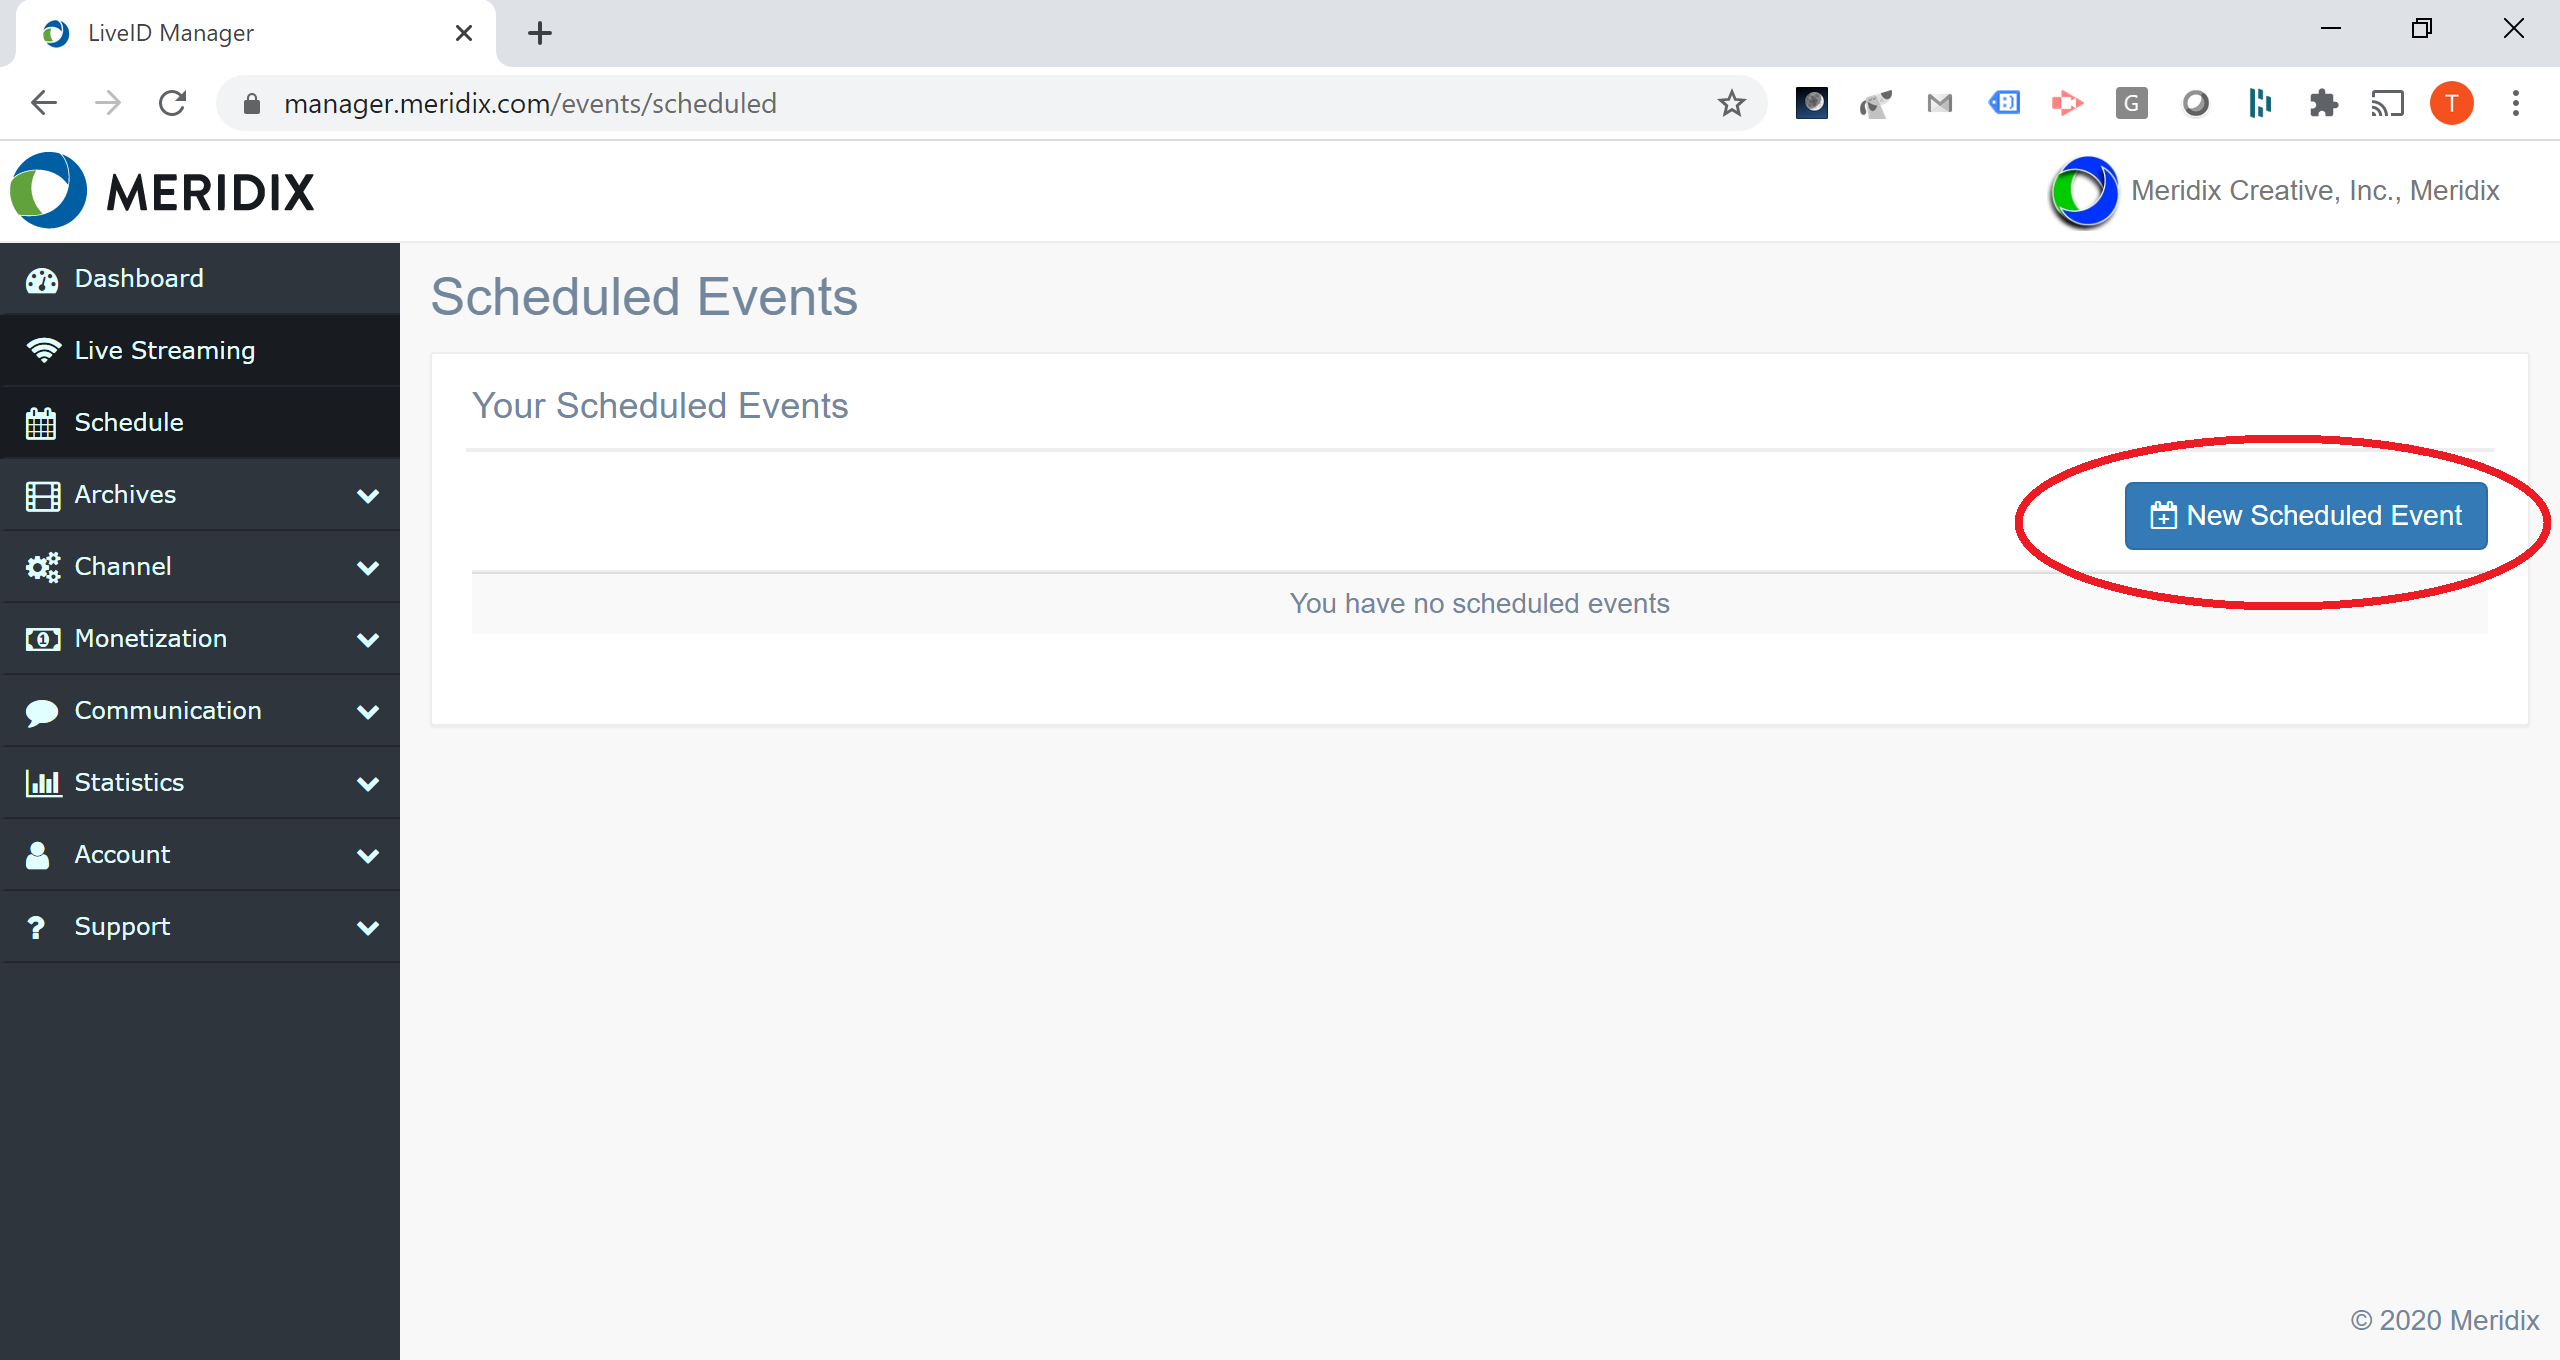
3. Click on the "New Scheduled Event" button. (If you have previously created scheduled events, they can be administered in this area via the list below.)
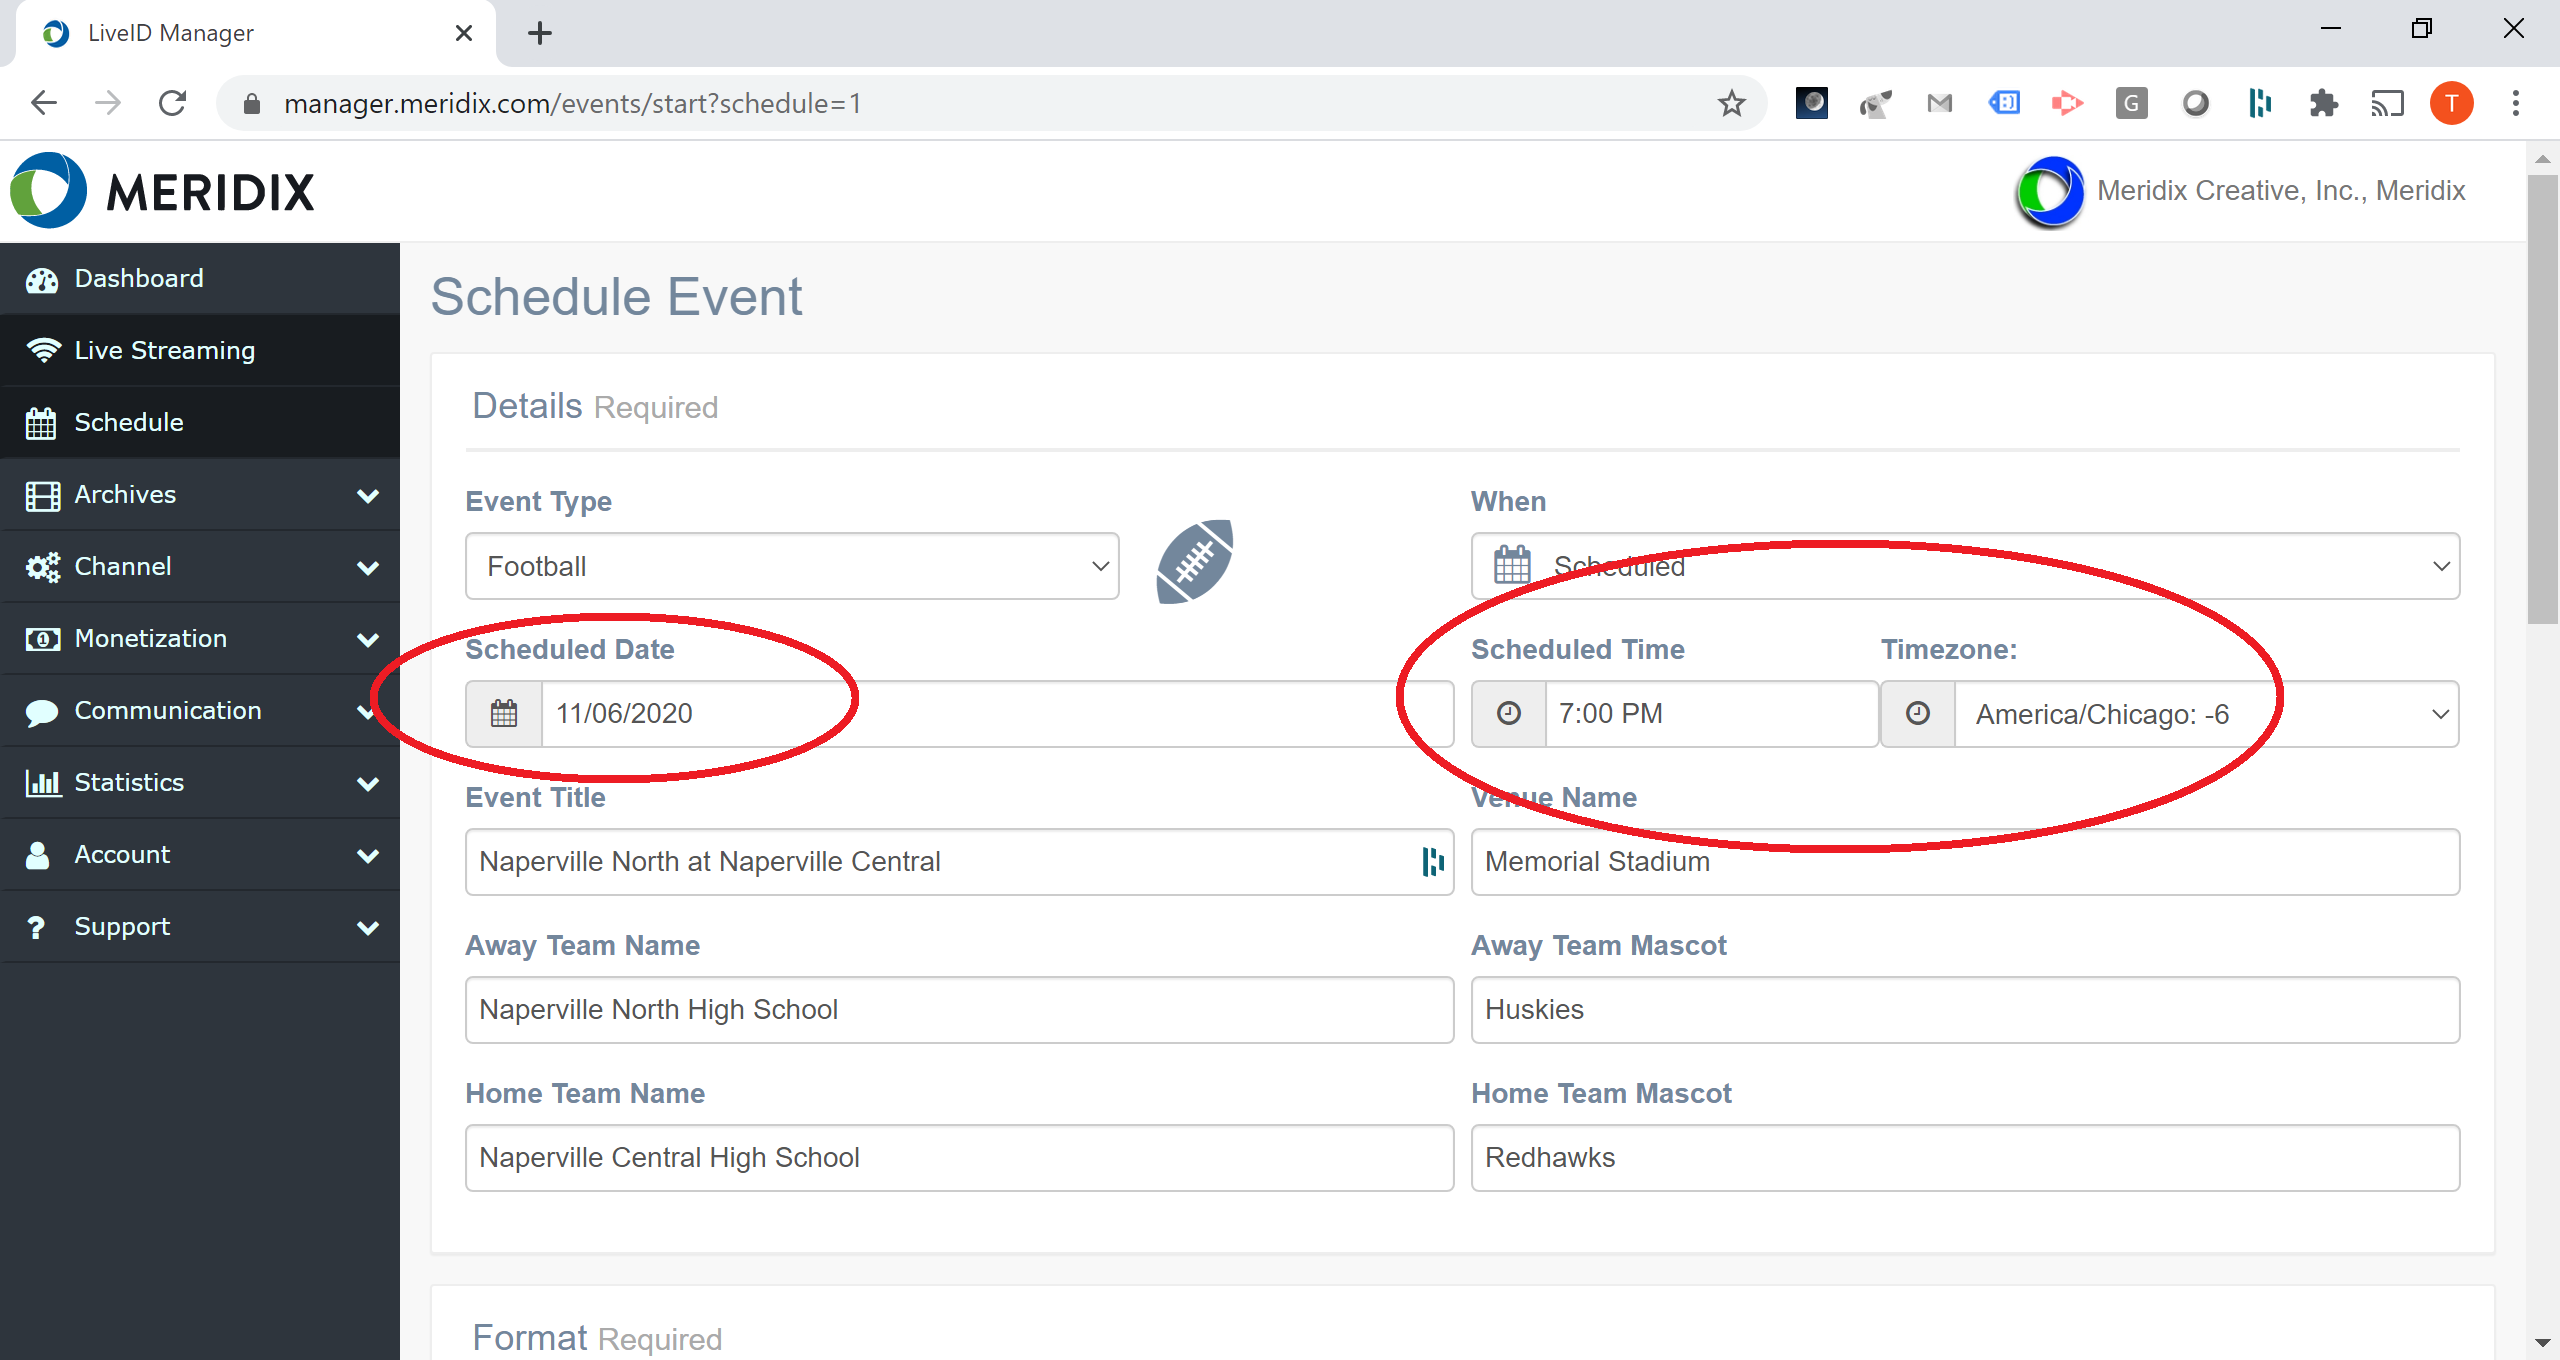
4. You will now be able to add the details for your scheduled event. Be sure to fill in the exact date and time you want the event to go live.
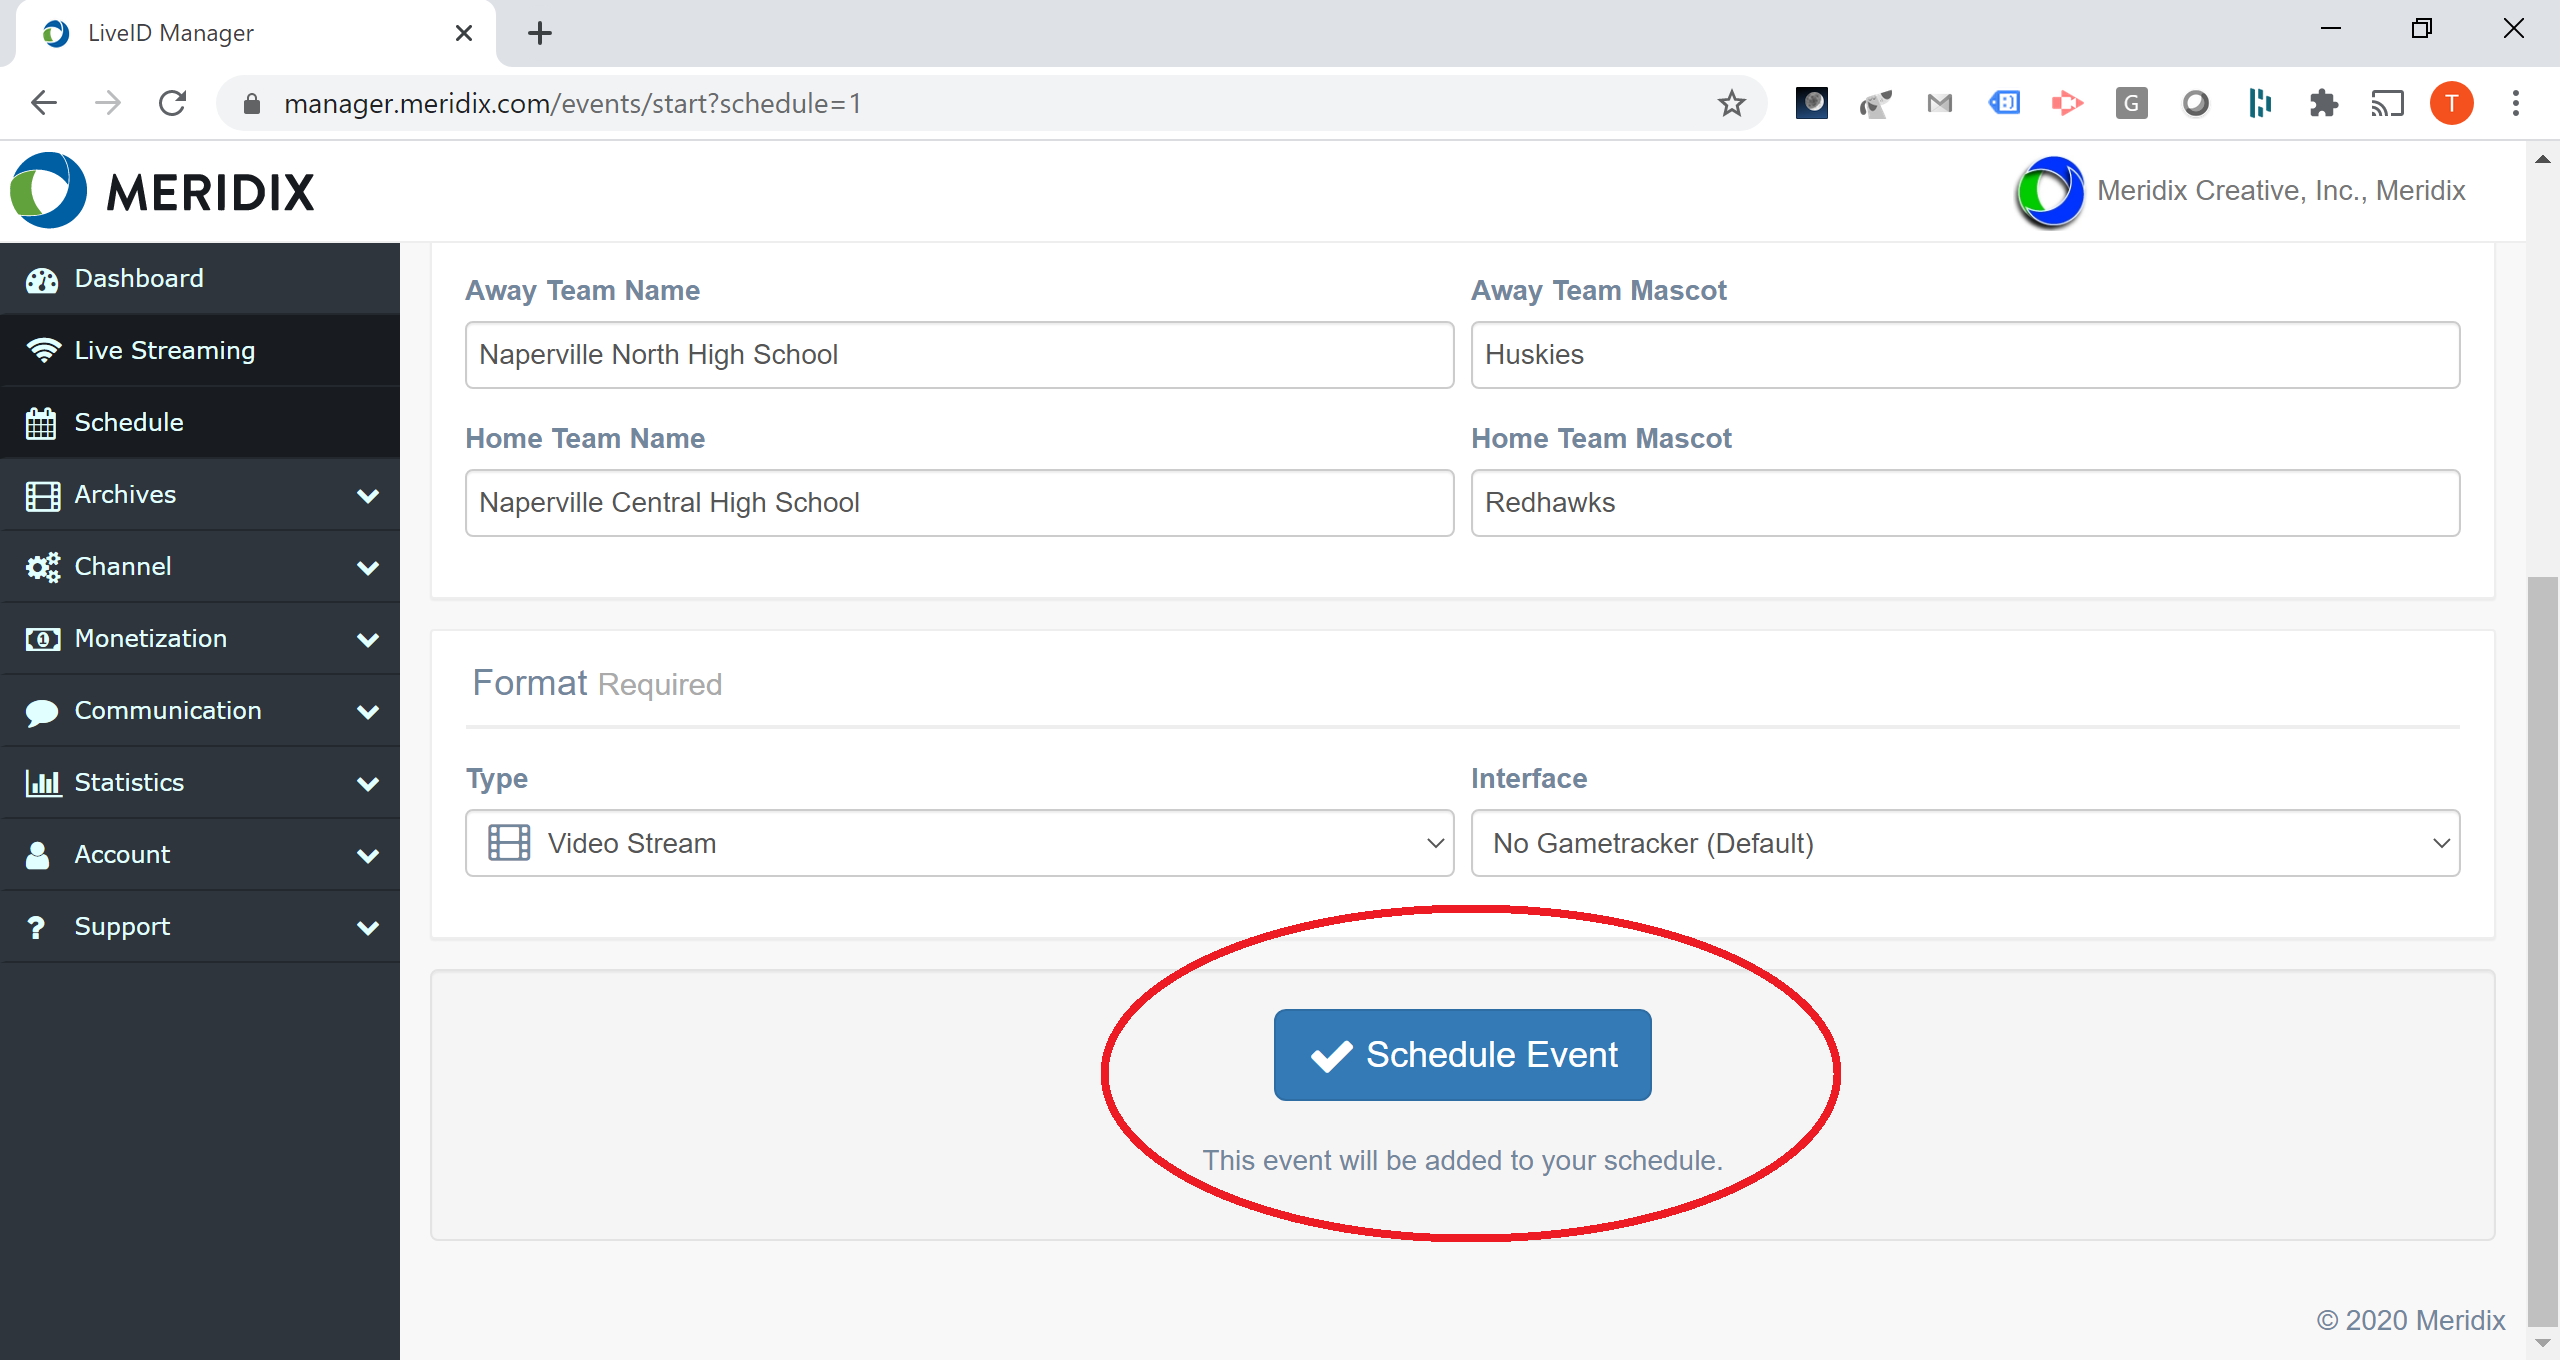
5. When finished adding details, click on the "Schedule Event" button at the bottom to create your scheduled event.
6. The event is now on your schedule. You may update (or delete) scheduled events at any time by clicking on the "Schedule" option from the main menu.
7. At the exact time you scheduled for, our platform will automatically take the event to live status. Once an event is in live status, you can begin pushing your live stream to your channel using the encoder of your choice (mobile app, desktop software, dedicated hardware, etc). If you try to push a stream to your channel while you do not have a live event running, the connection will be rejected.
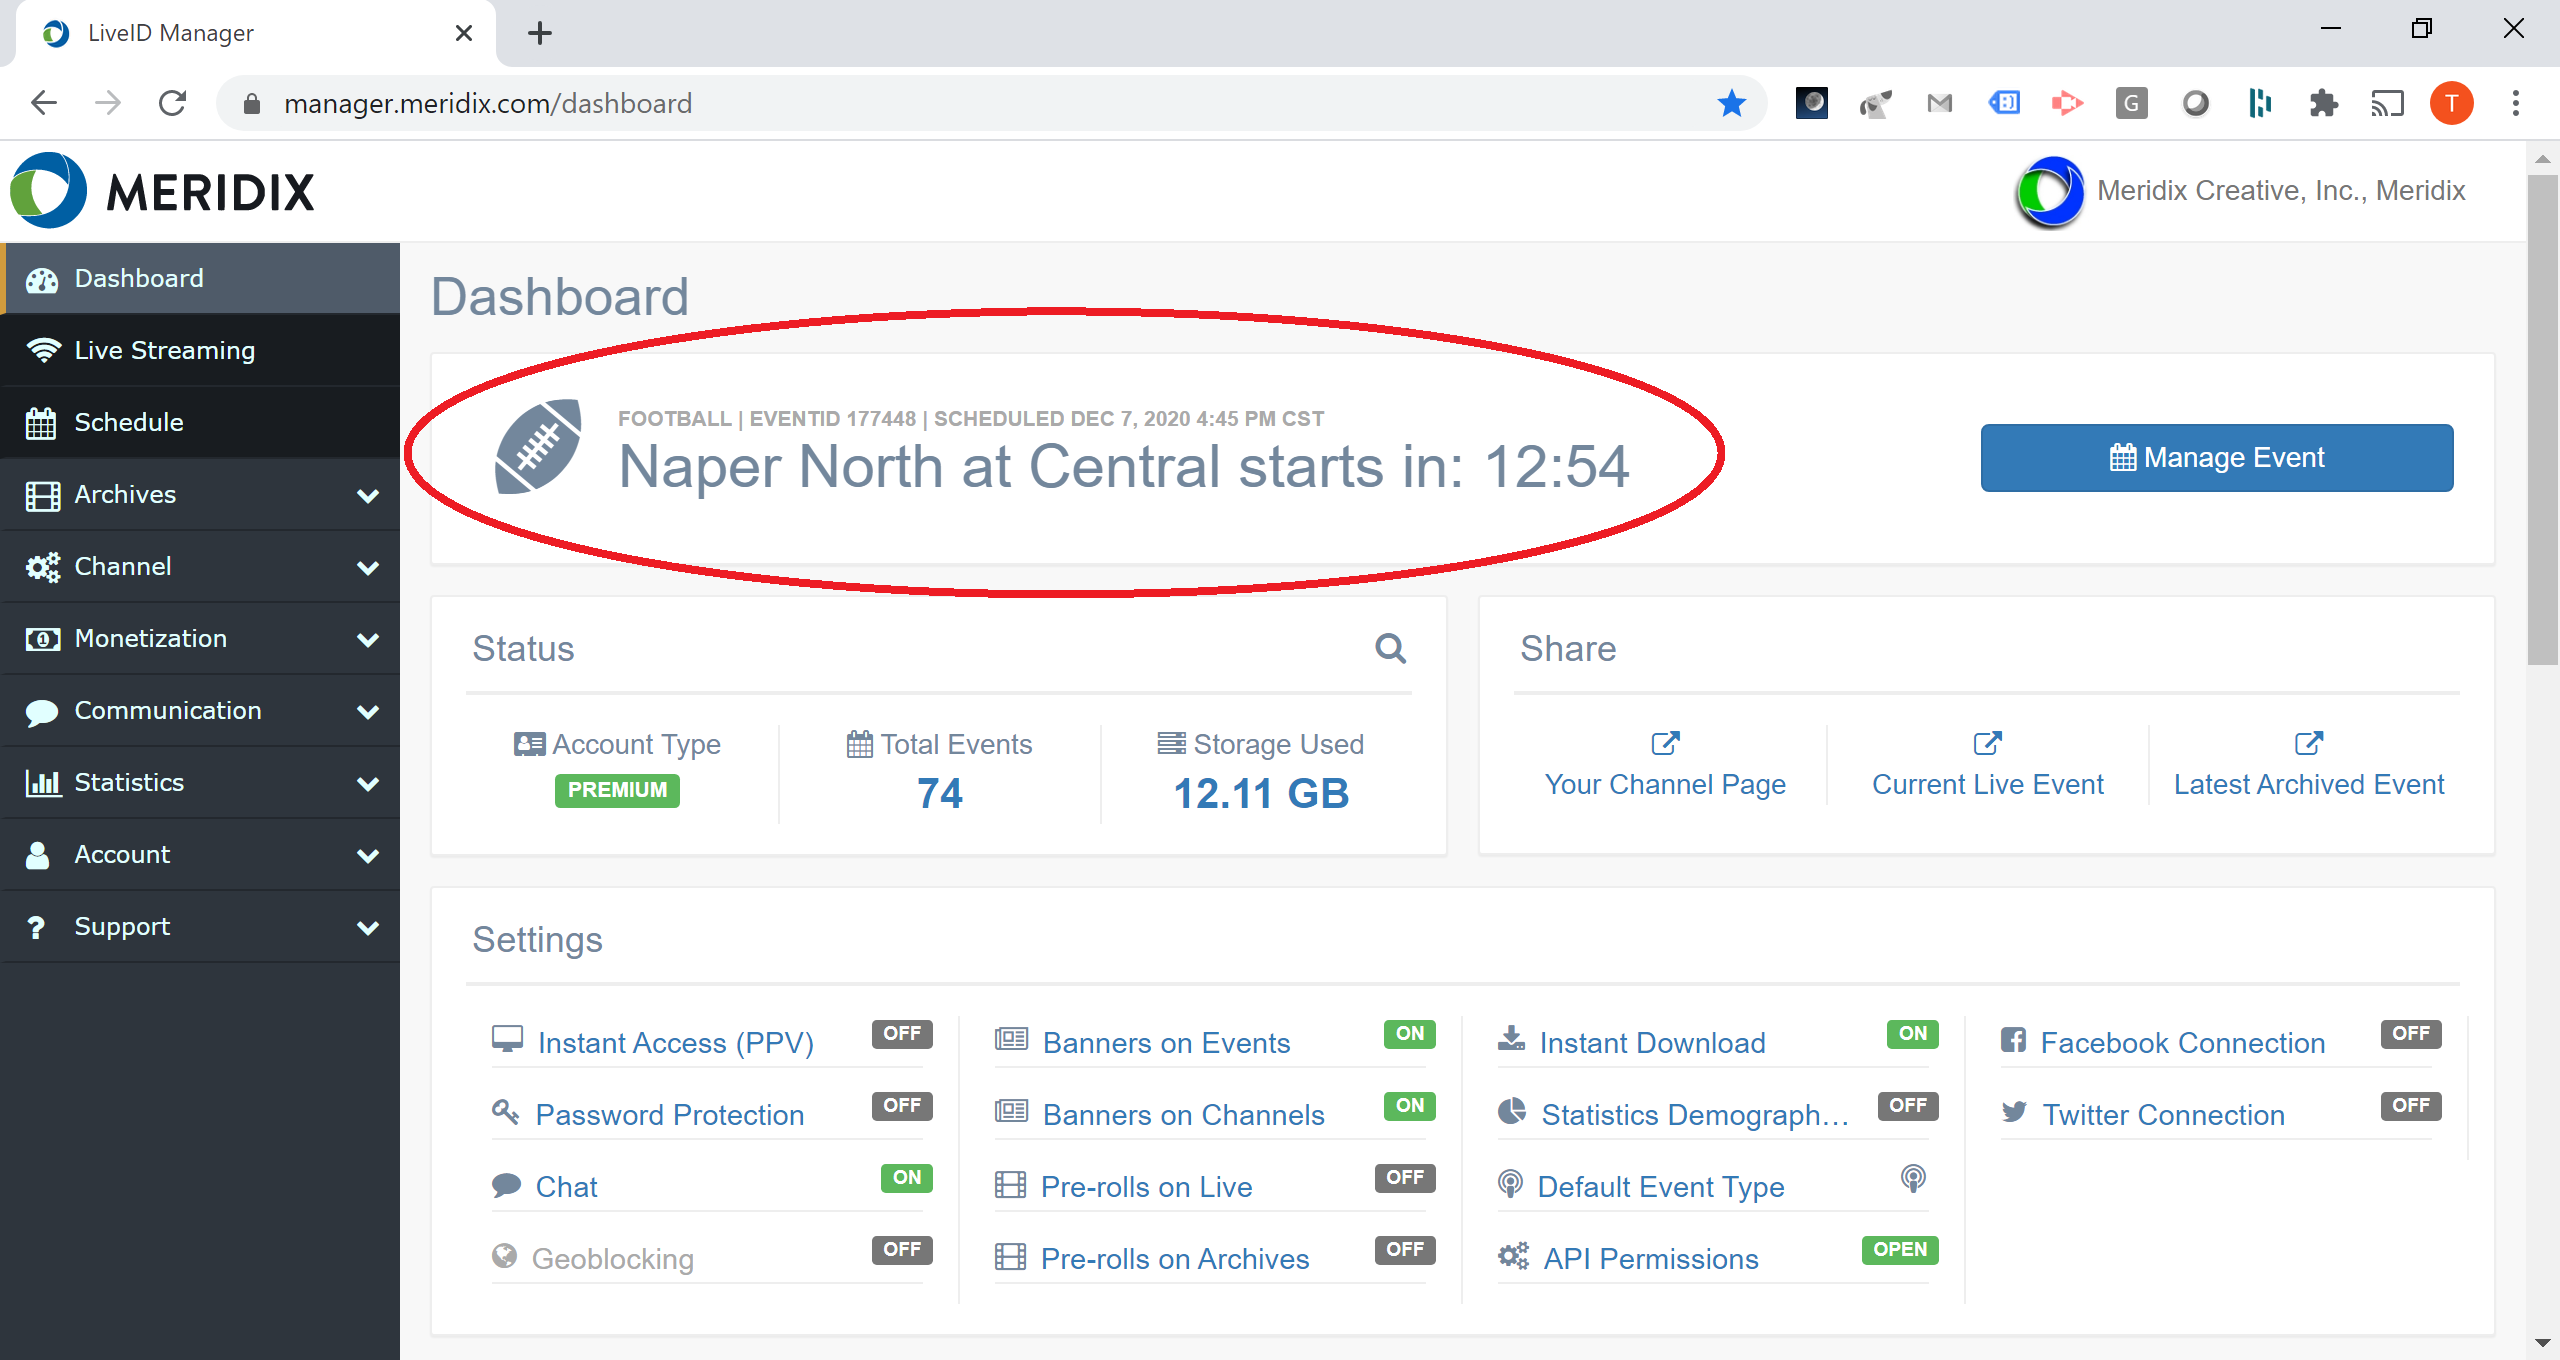
8. If any events are scheduled to go live on your channel within 60 minutes or less, the dashboard will display a countdown timer indicating the amount of time until the system automatically takes the next event live.
Creating On The Fly
1. Login to the LiveID Manager with your LiveID and password at https://manager.meridix.com.
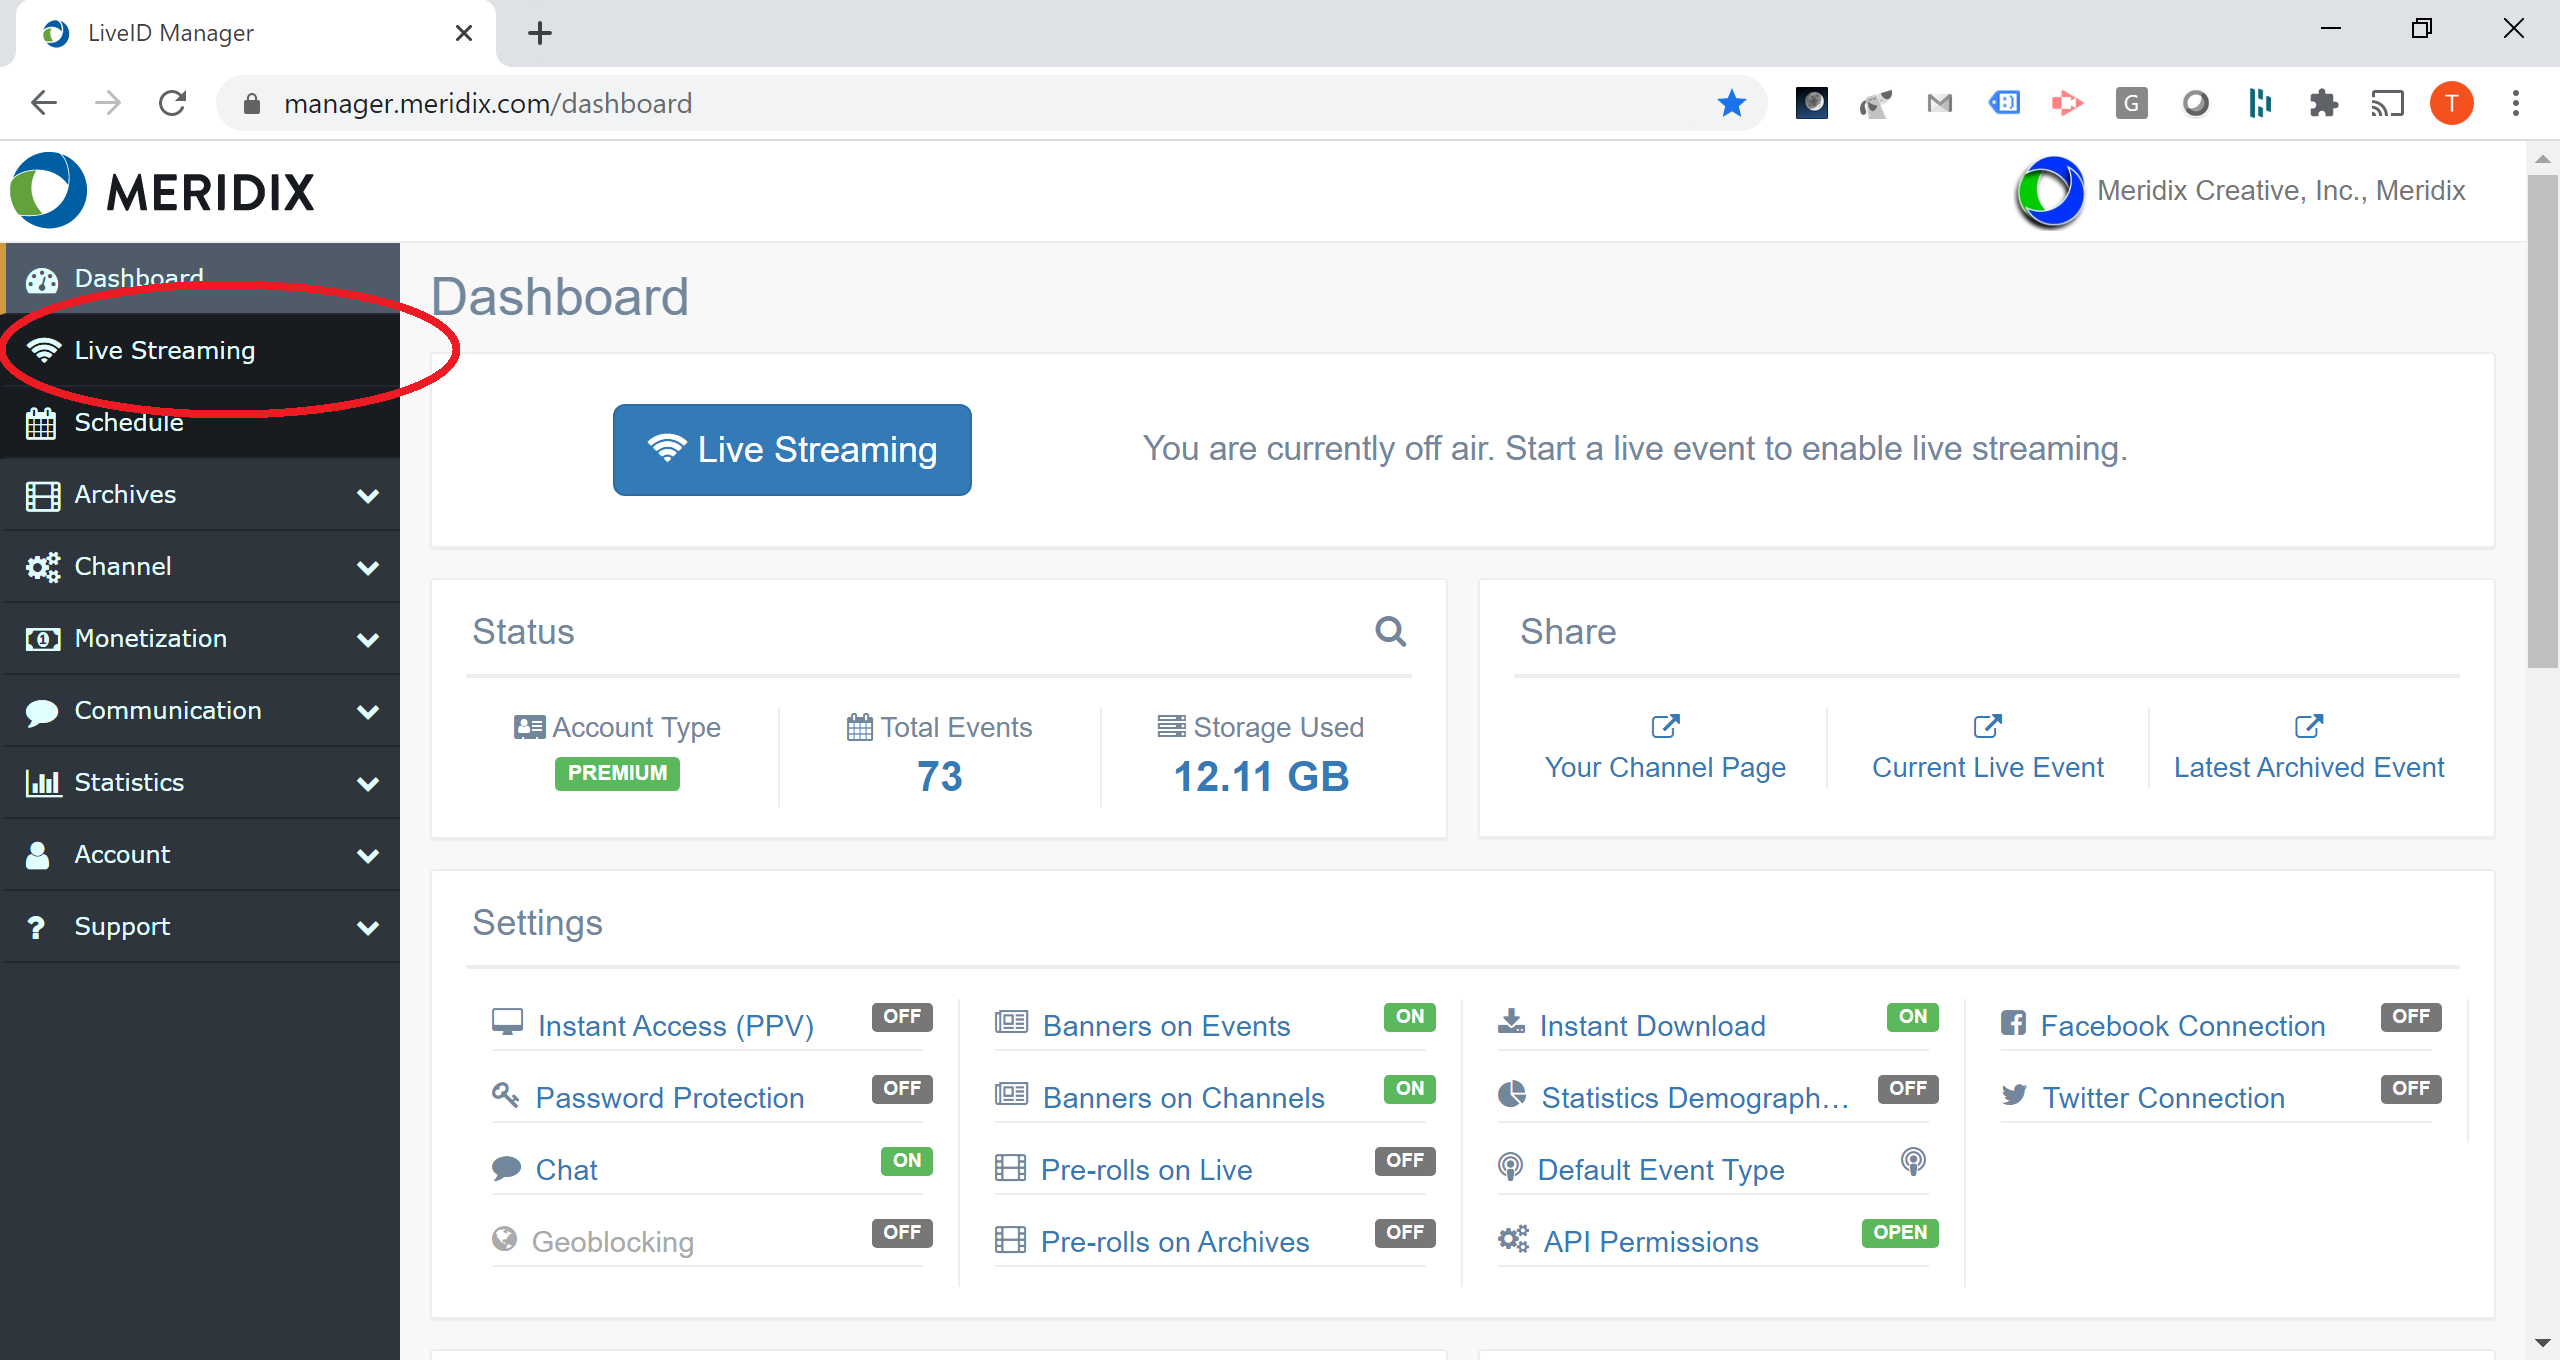
2. From the main menu, click on the "Live Streaming" option.
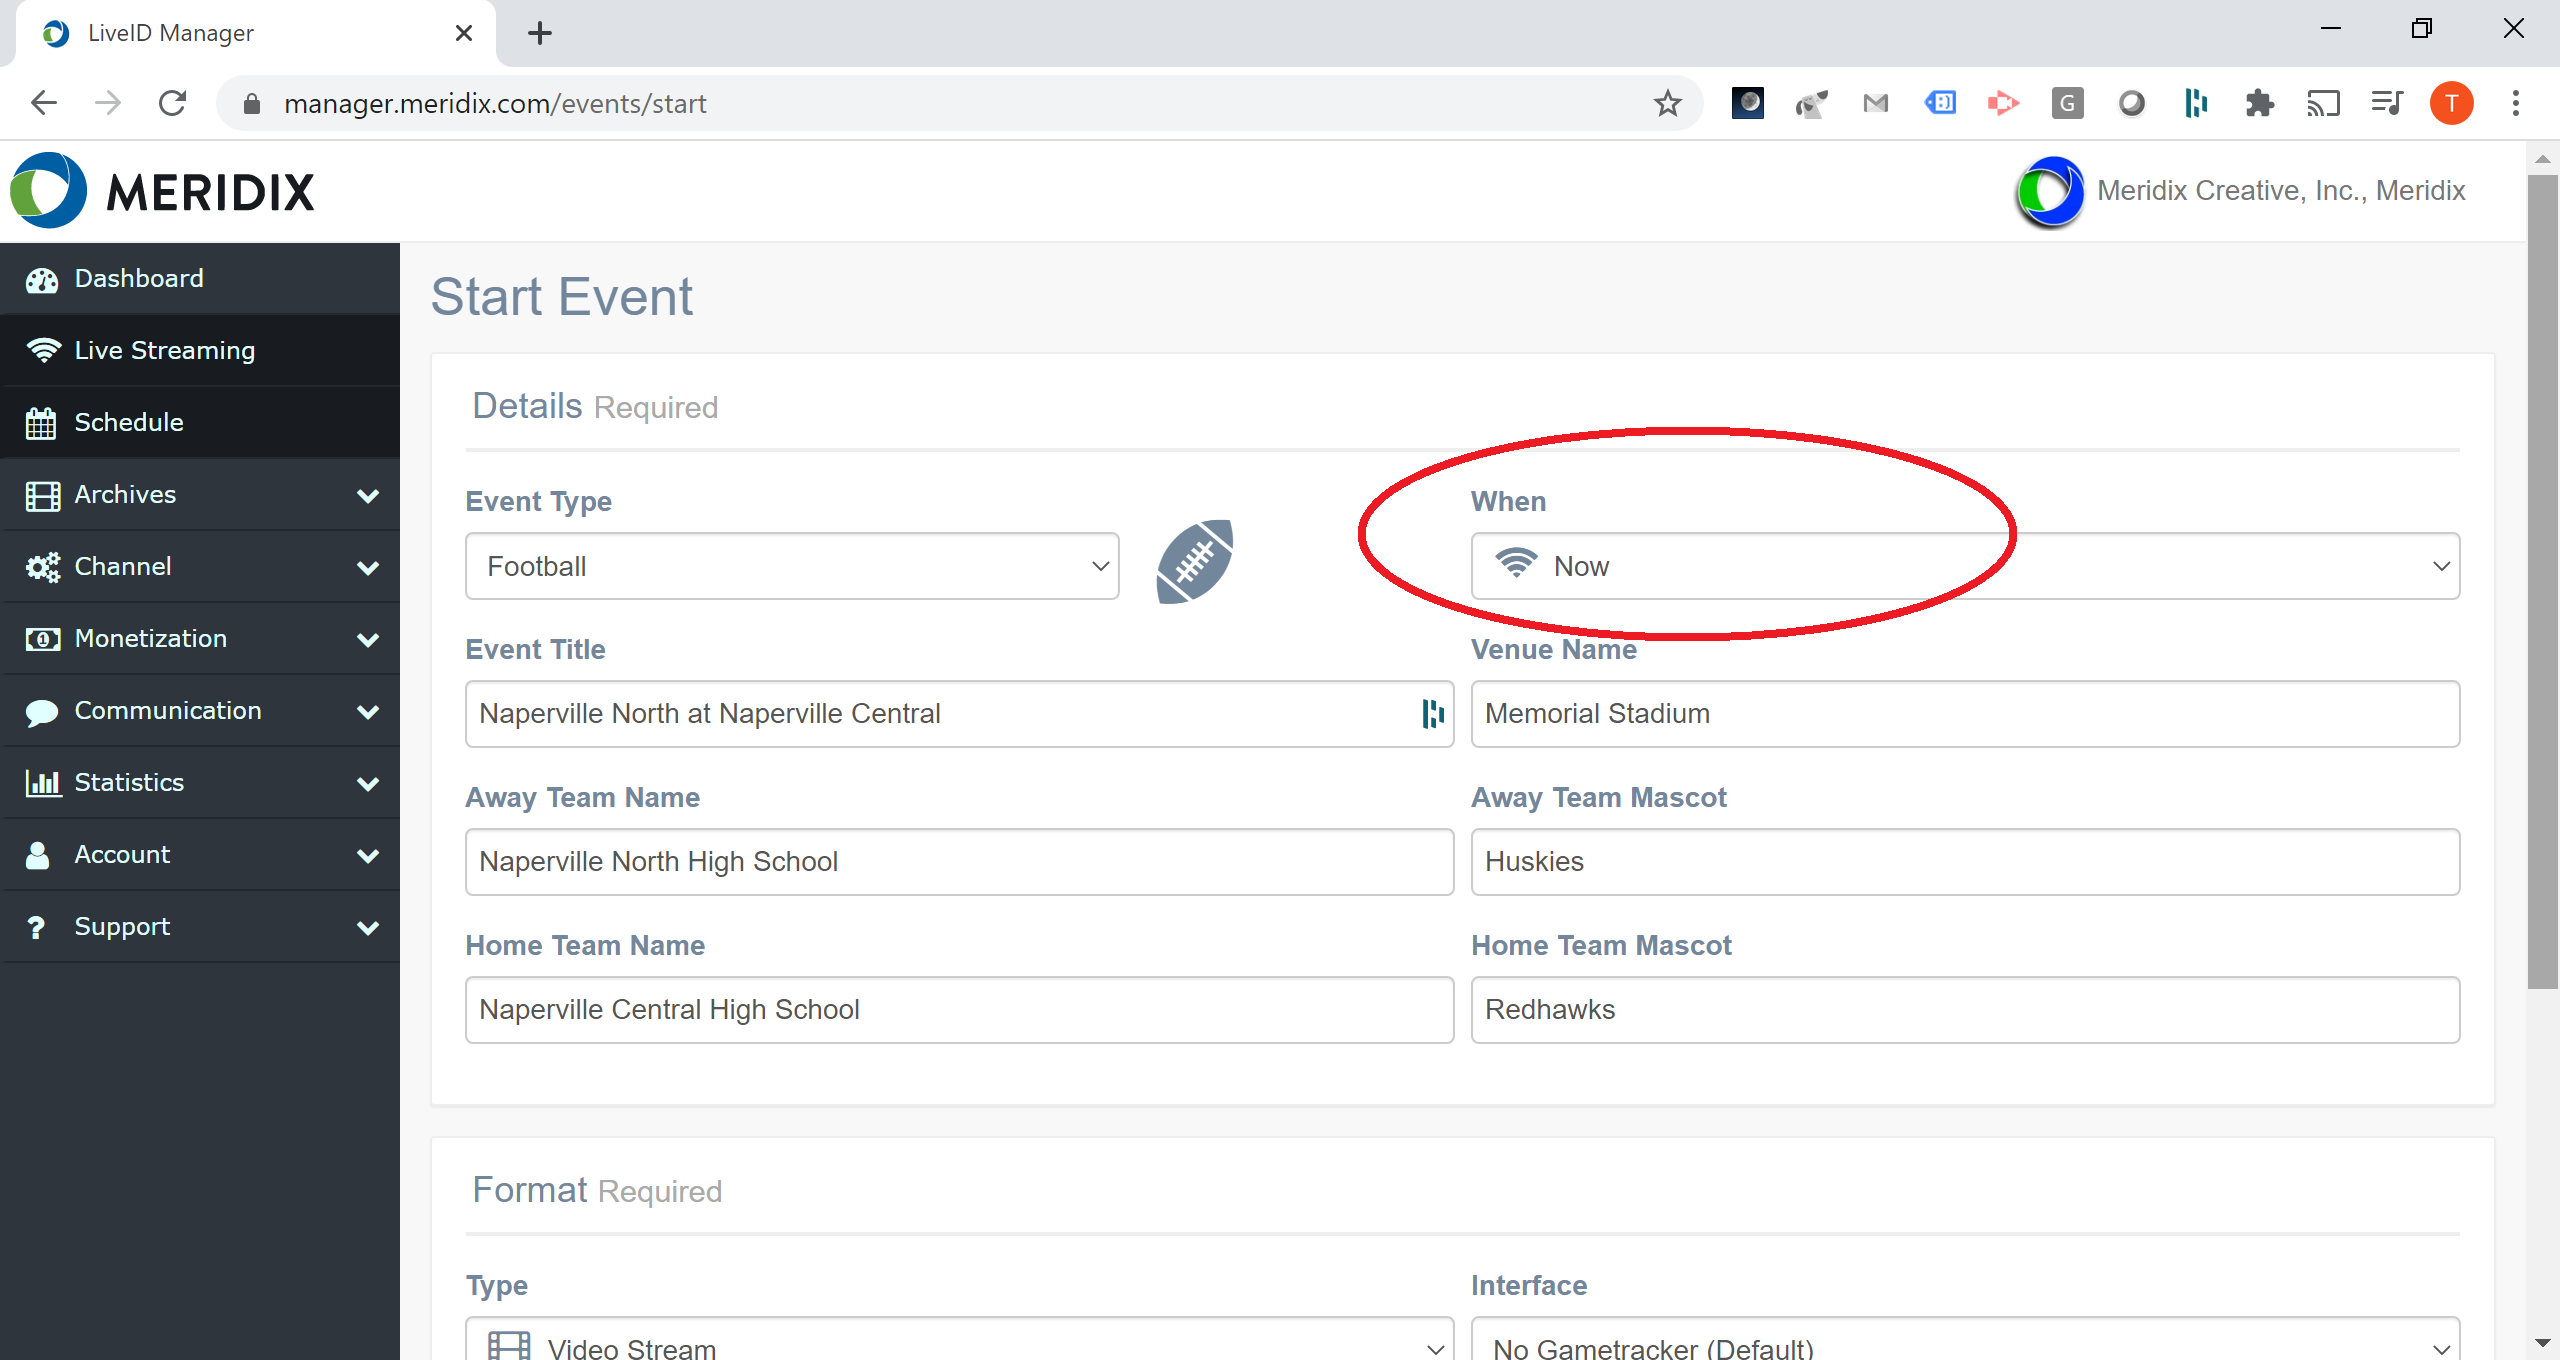
3. You will now be able to add the details for your live event. You will notice that the "Now" option has been selected for you and there are no date or time fields, because the event will go to live status as soon as you complete this screen.
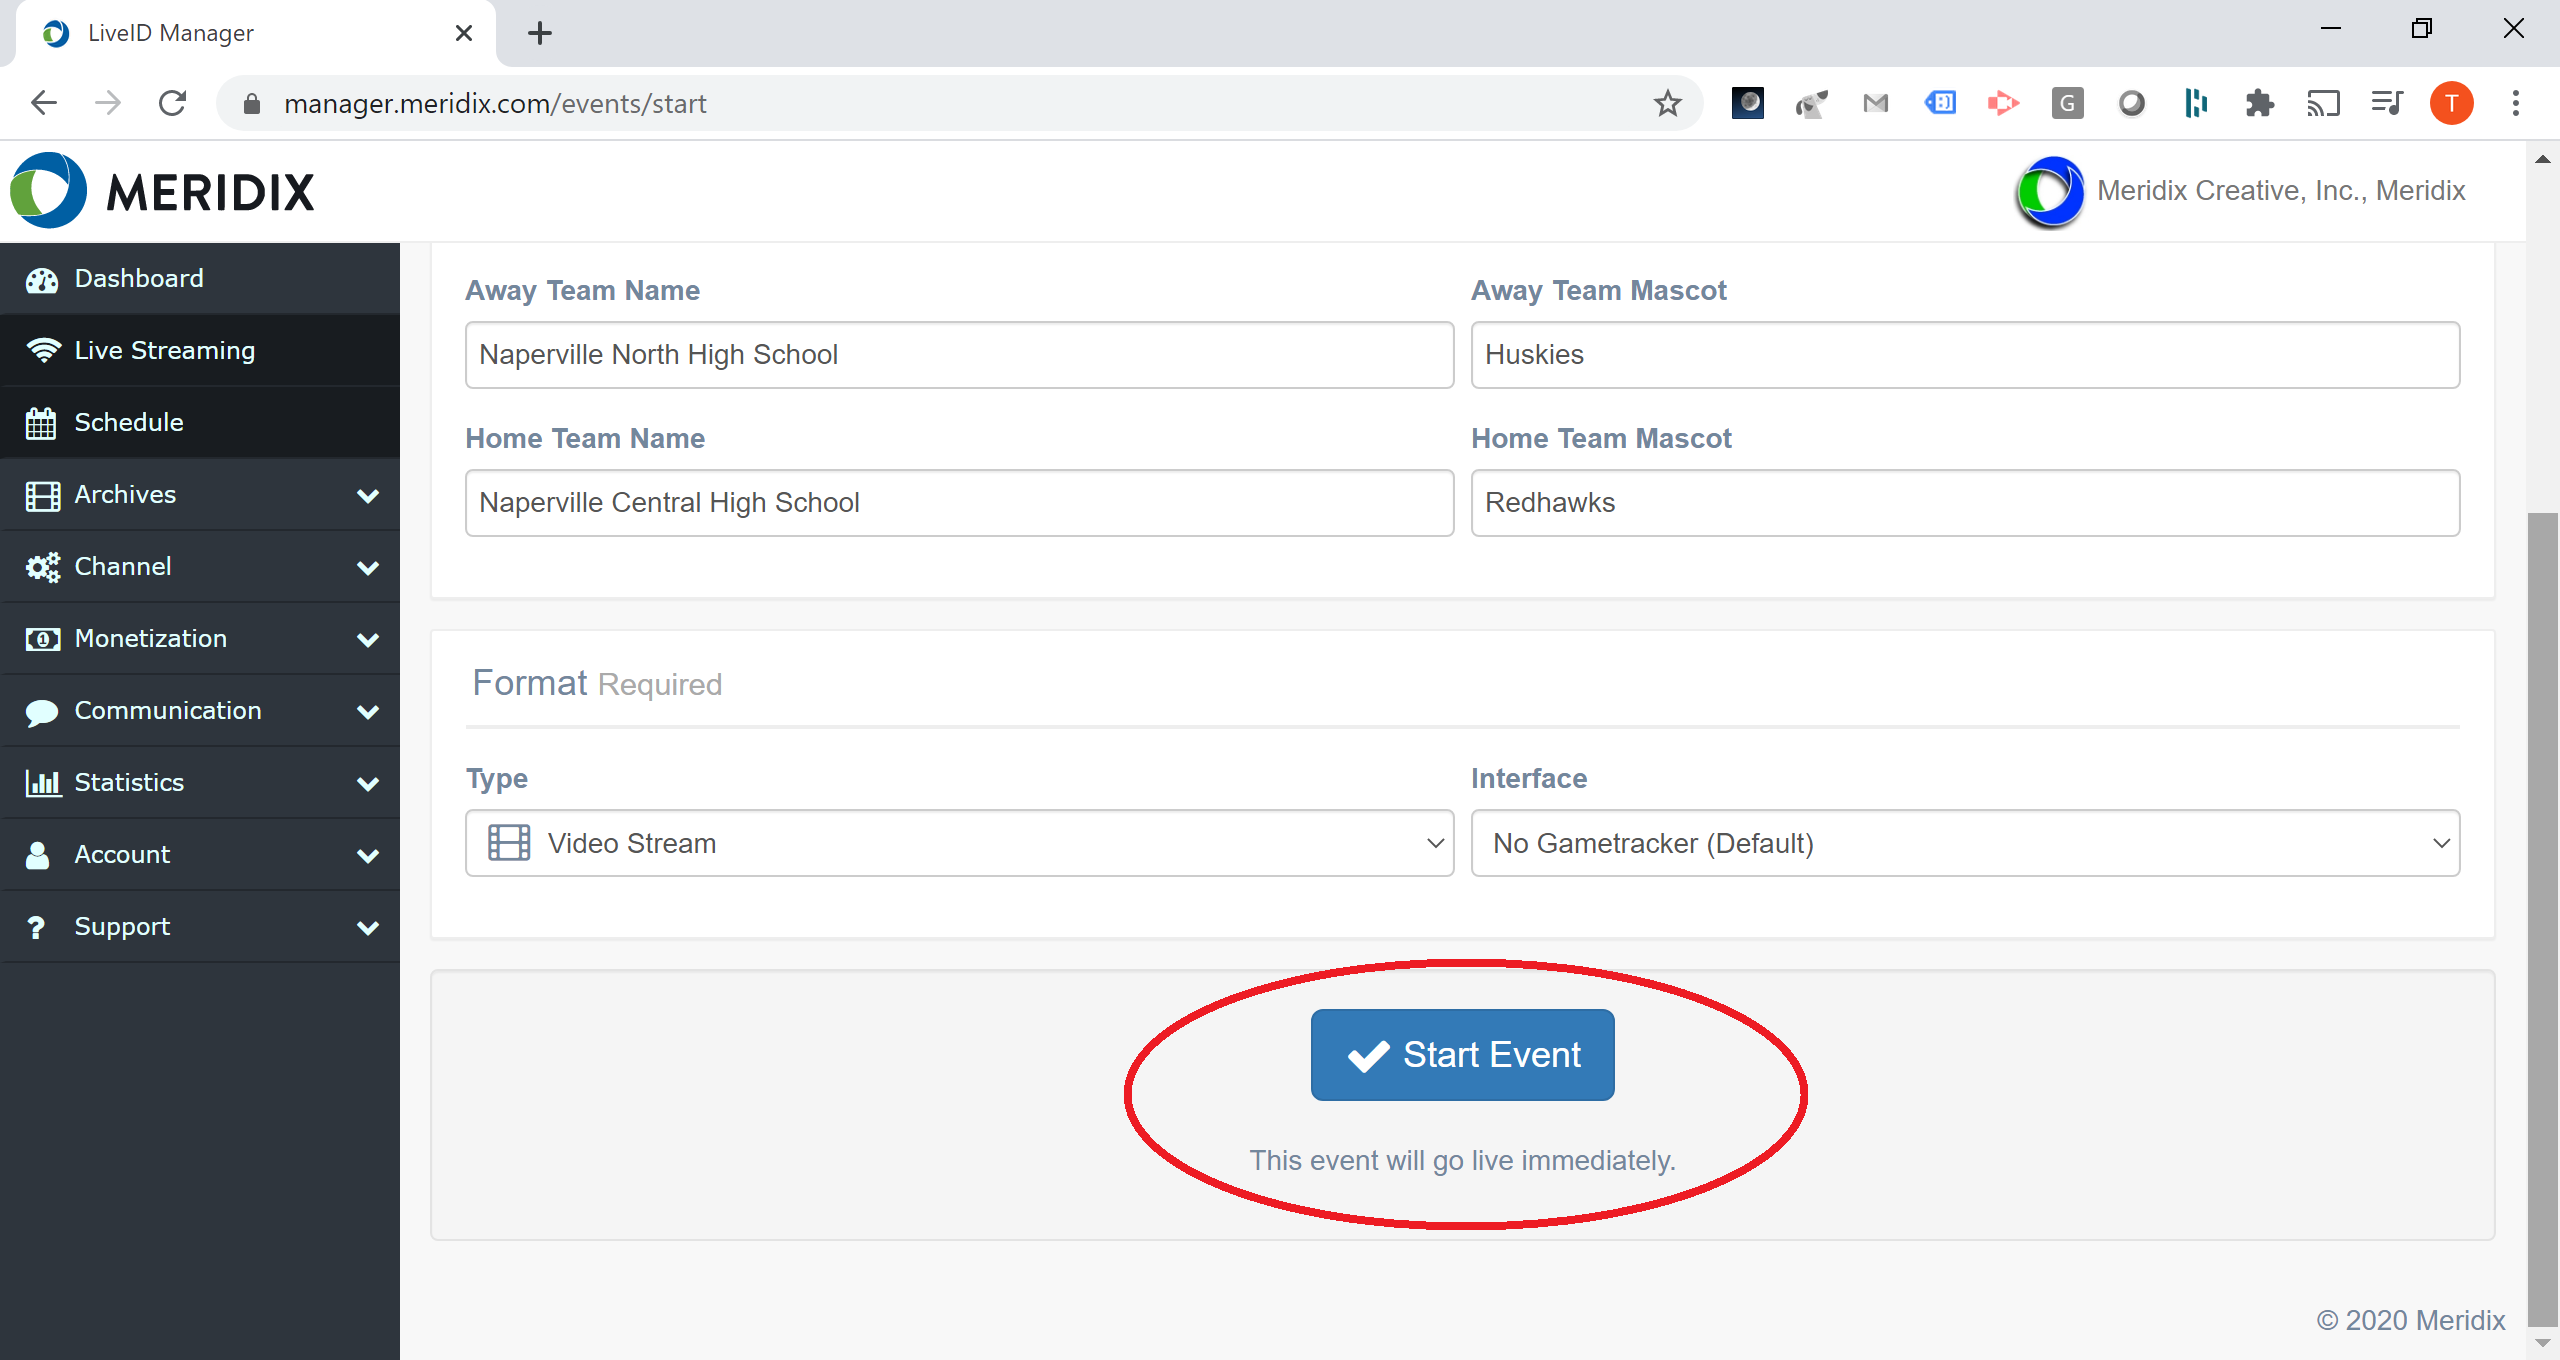
4. When finished adding details, click on the "Start Event" button at the bottom to immediately put your event in live status.
5. You can now begin pushing your live stream to your channel using the encoder of your choice (mobile app, desktop software, hardware device, etc).
Updating A Live Event In Progress
1. In the LiveID Manager main menu (or using the button at the top of the dashboard) click on "Manage Live Event".
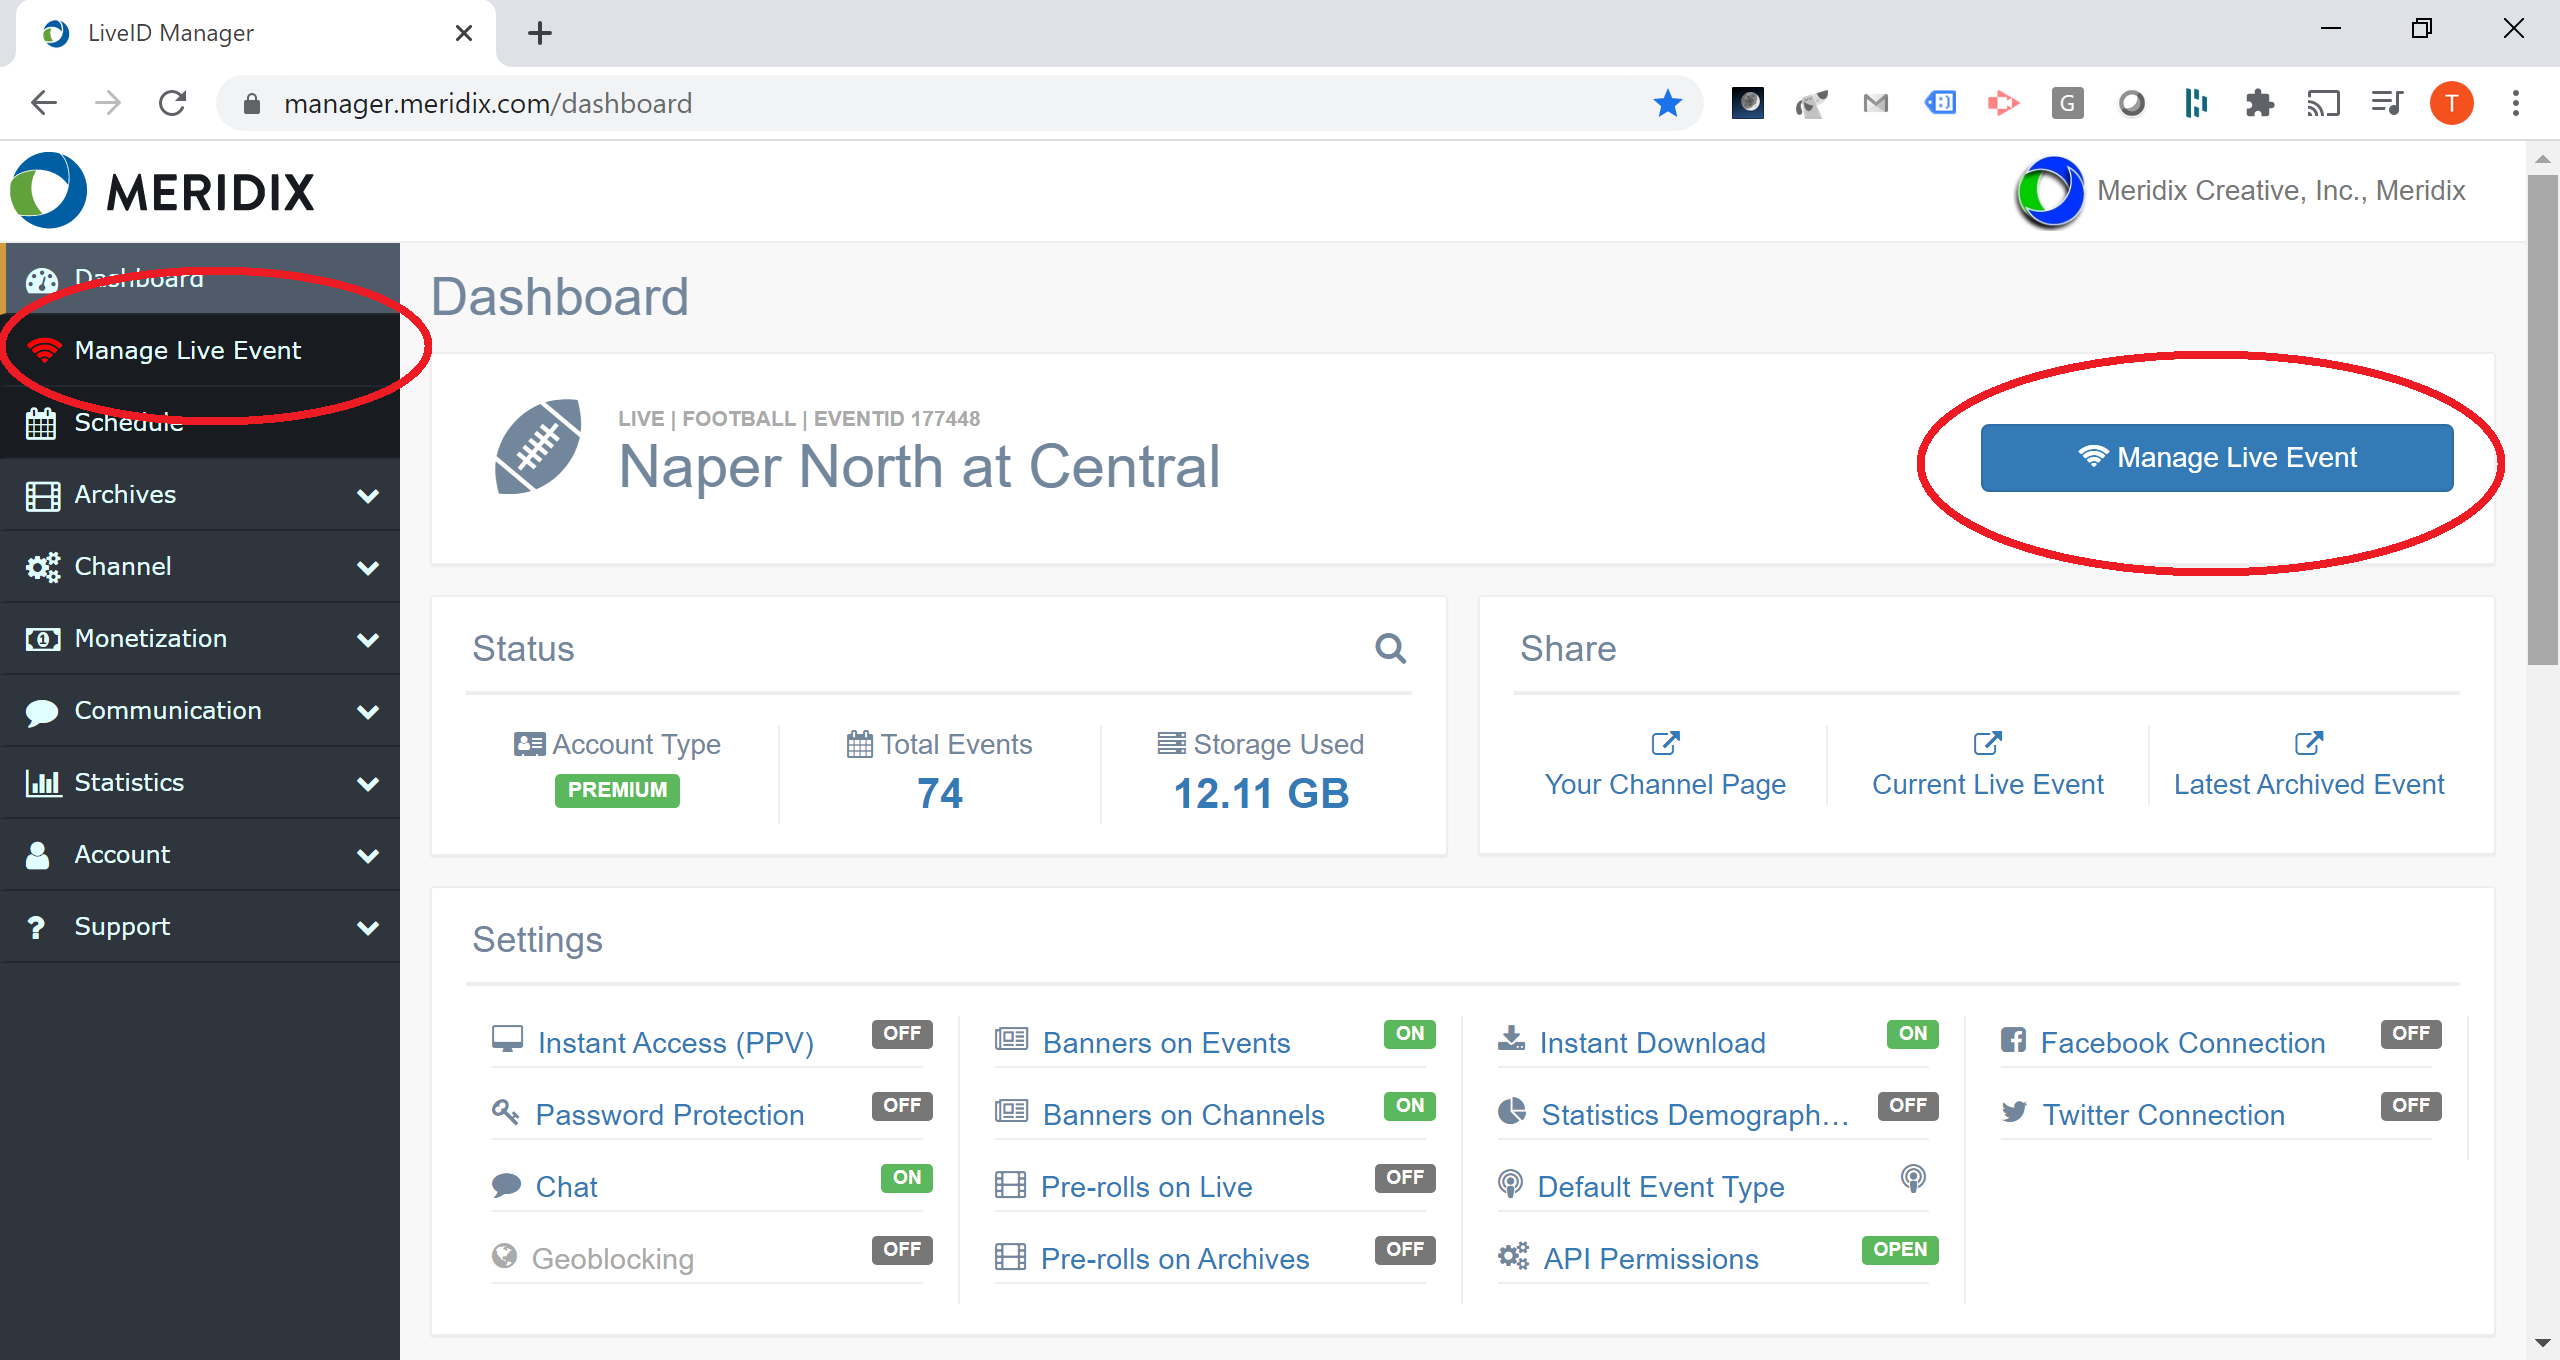
2. You will arrive at the live event management screen, which should say "Live Streaming Is Enabled" at the top. To update information, such as a score, click on an element and it will be surrounded with a green box. Change the data in the box and then click elsewhere to automatically submit.
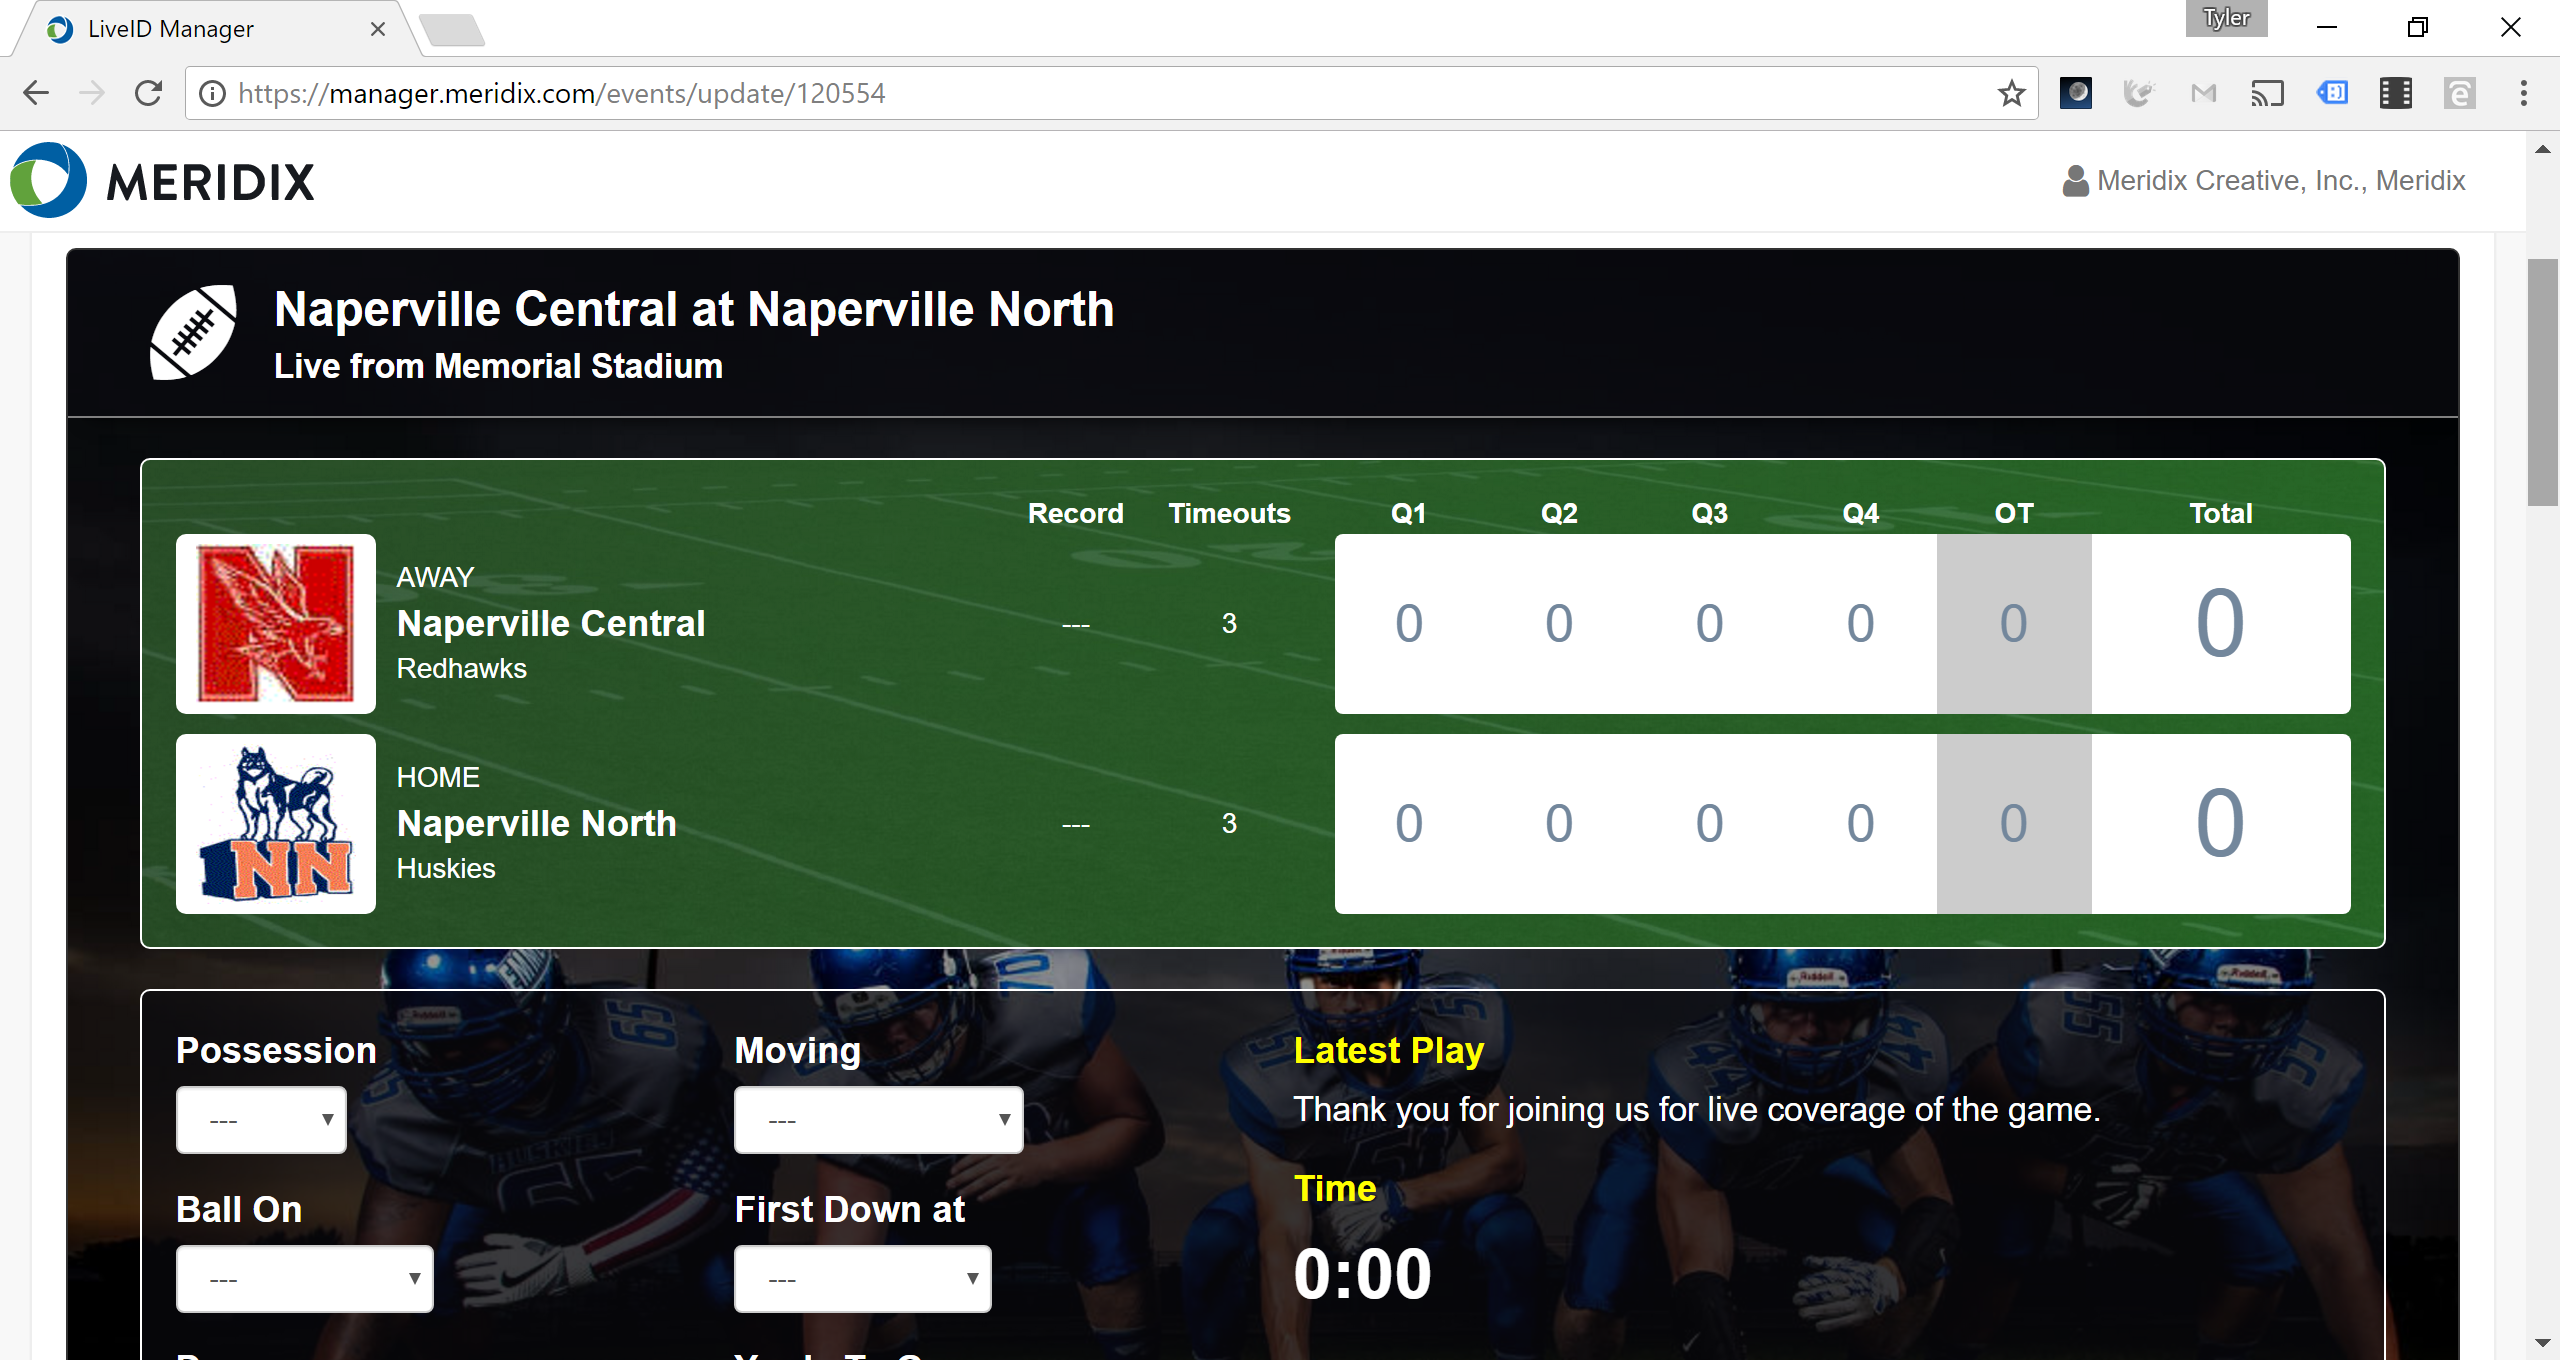
3. Update event data as your event progresses, and your audience will see your updates in sync with the live stream. This page also includes settings for photos, tickets/passes (PPV), password protection, and more.
4. You can leave the live event management screen and return at will. The event will remain open in live status regardless of whether you are actually on this page.
Ending And Closing A Live Event
1. When your event is completely finished, stop your live stream (in the mobile app, desktop software, or hardware device you were using to send your live stream).
2. Once you have confirmed that the live stream is stopped, at the bottom of the live event management screen, click on "End Event". This lets our system know that the event is complete and no further live streaming needs to be paired with this event.
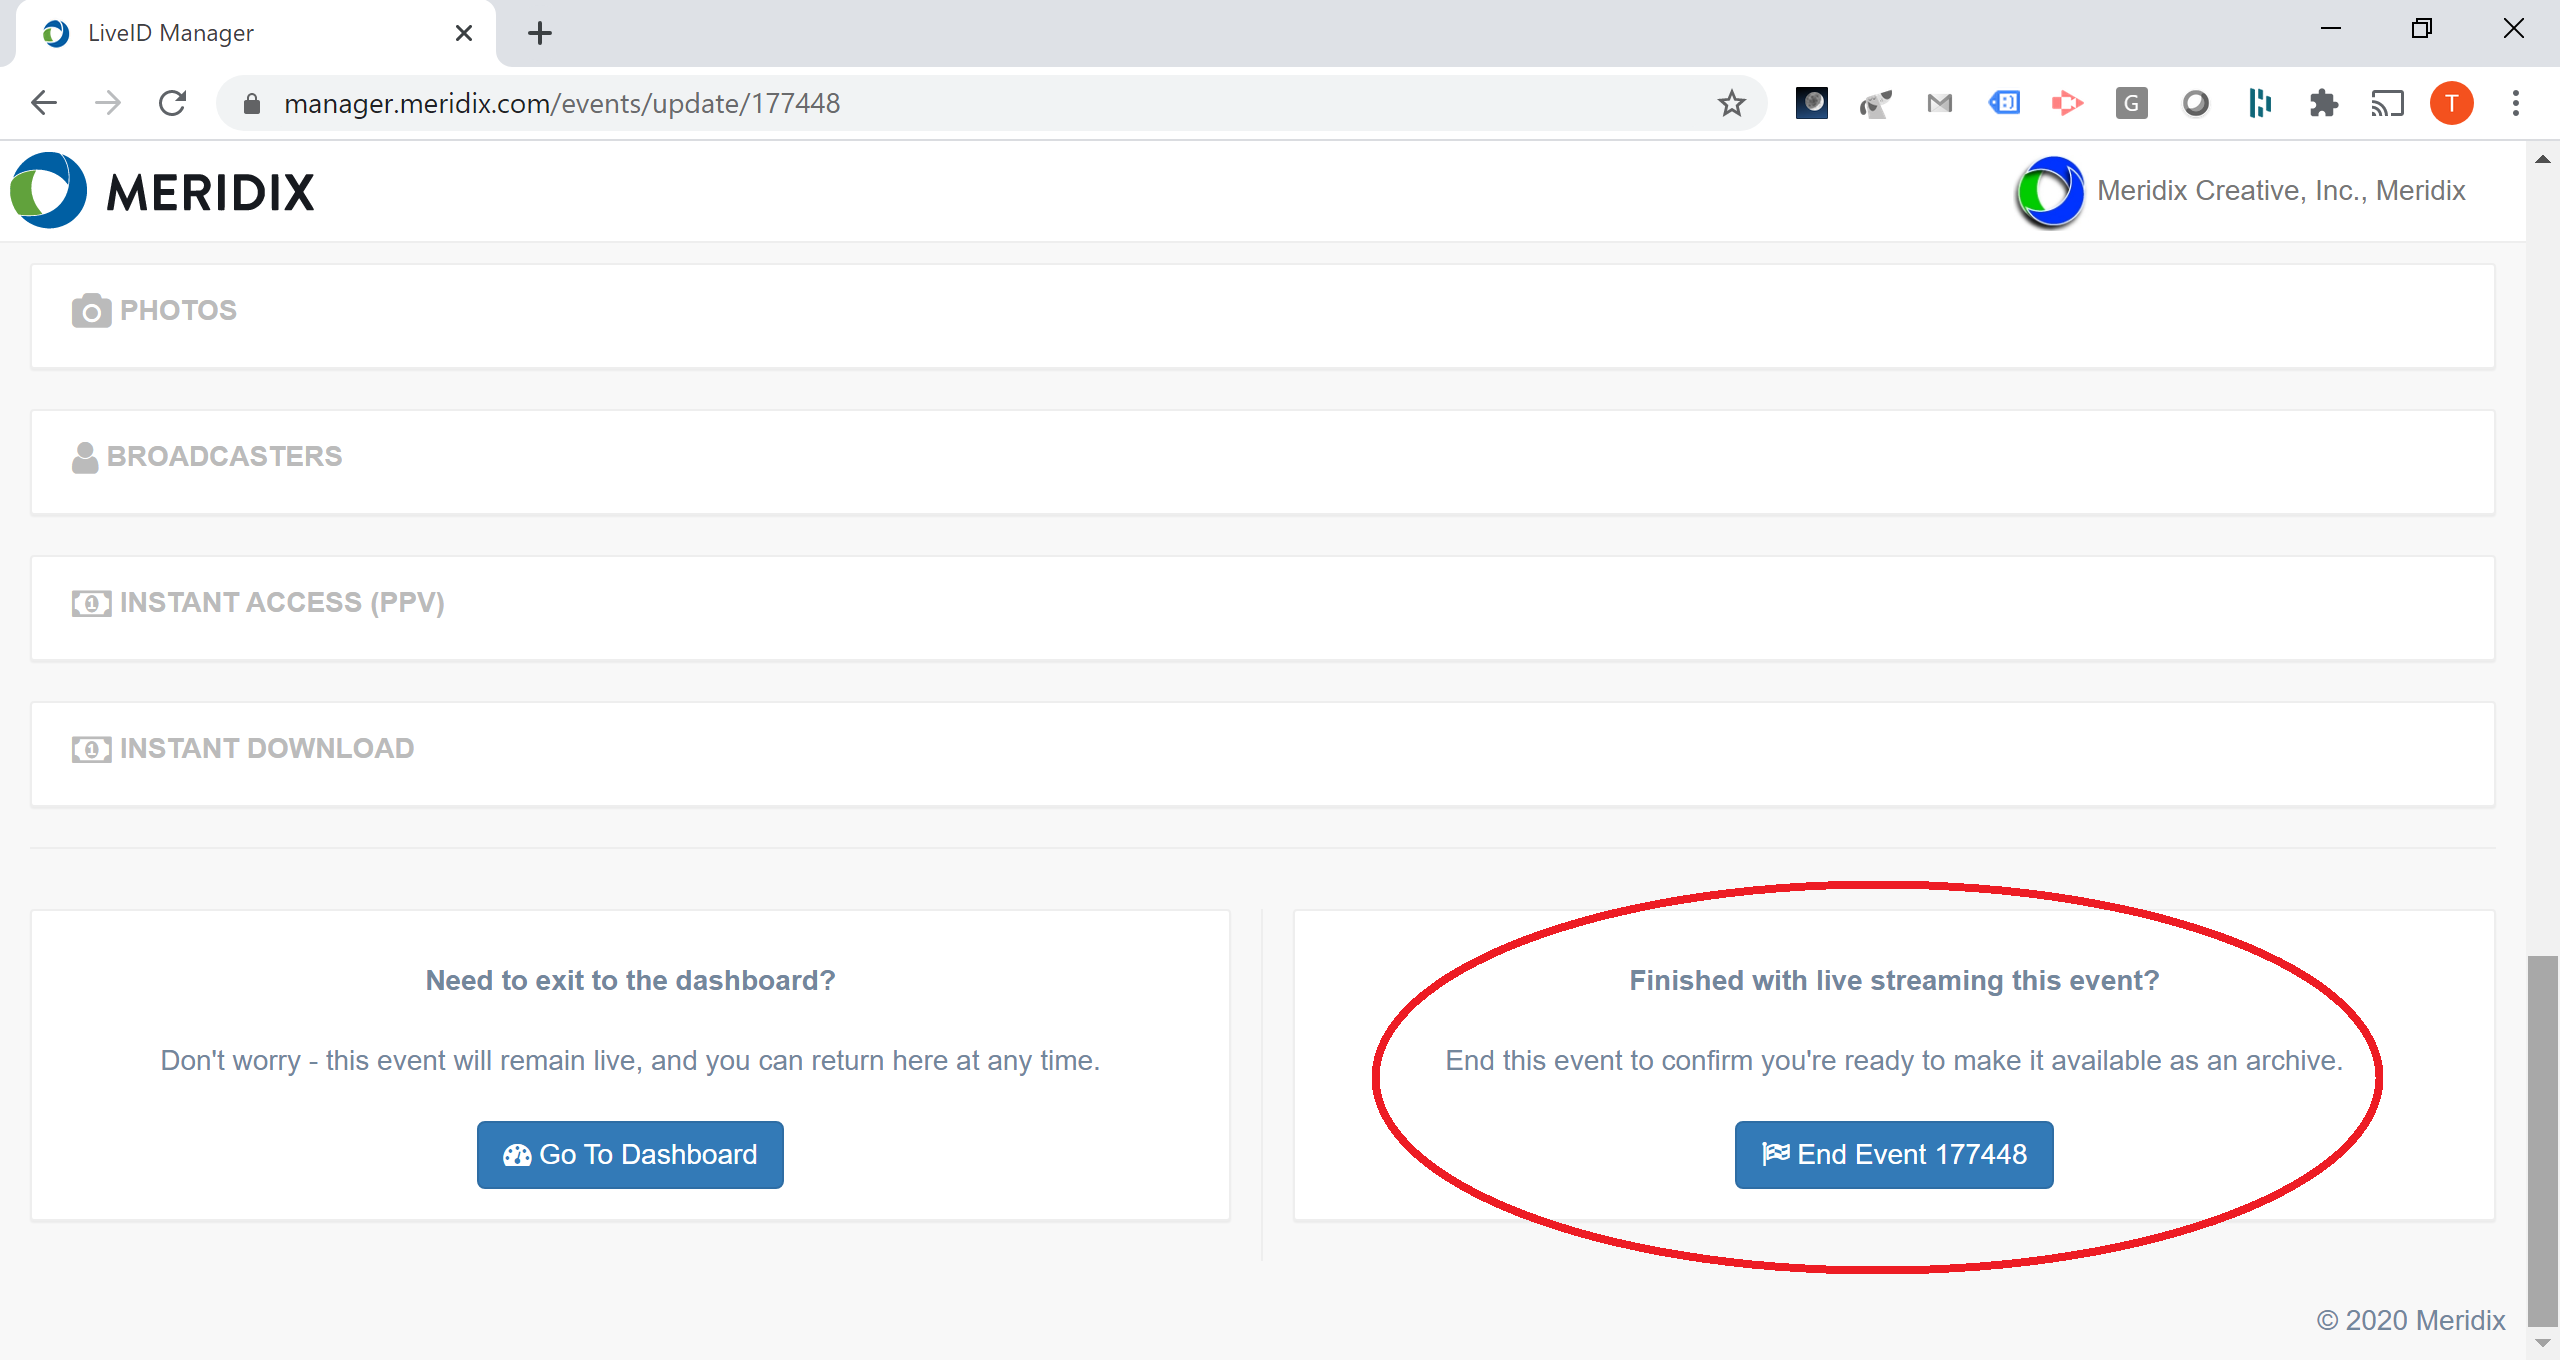
3. The event is now complete and in archived status. The recording of the live event will be available for on-demand watching or listening within a few minutes.